How to Build an Outdoor Sauna: Your Complete DIY Guide


There's something deeply satisfying about creating your own sanctuary with your own hands - where every carefully placed timber and lovingly crafted detail becomes part of a wellness retreat that truly belongs to you.
Perhaps you've explored the world of pre-made saunas and found yourself thinking, "I could build this myself." Maybe you're drawn to the satisfaction of expressing your skills and creativity, or you simply want the unique pride that comes from stepping into a DIY outdoor sauna you've built from the ground up. The desire to craft your own outdoor sauna is both admirable and ambitious - and we completely understand the appeal.
However, building an outdoor sauna from scratch is no small undertaking. This is a project that demands specialized skills, professional-grade tools, considerable time investment, and quite likely, a helping hand from family or friends. You'll be working with precision carpentry, electrical installations, insulation systems, and safety considerations that can significantly impact both the functionality and safety of your finished sauna.
But if you're ready for the challenge and equipped with the right knowledge, building your own outdoor sauna can be one of the most rewarding DIY projects you'll ever complete.
The Reality Check: What You're Really Taking On
Skills You'll Need to Master
Building an outdoor sauna isn't just about following plans - it requires a diverse set of construction skills that typically take years to develop:
Essential Carpentry Skills:
- Precision measuring and marking
- Advanced framing techniques
- Proper joint construction for thermal expansion
- Complex angle cuts for roofing
- Door and window installation
Specialized Construction Knowledge:
- Vapor barrier installation and moisture management
- Insulation techniques for high-heat environments
- Ventilation system design and installation
- Fire-safe construction around heating elements
- Weatherproofing for year-round outdoor exposure
Safety Expertise:
- Electrical work requiring certified electrician consultation
- Fire safety protocols and clearance requirements
- Structural integrity assessment
- Building code compliance verification
Tools That Make the Difference
This isn't a weekend project you can tackle with a basic toolbox. Professional sauna construction requires specialized equipment:
Power Tools:
- Circular saw with fine-tooth blades
- Compound miter saw for precise angles
- Router for tongue-and-groove work
- Drill/driver set with various bits
- Orbital sander for finishing
- Reciprocating saw for rough cutting
Specialized Tools:
- Moisture meter for lumber selection
- Laser level for foundation work
- Pneumatic nail gun for efficient assembly
- Chisels for precise joinery
- Clamps in various sizes
- Safety equipment (goggles, respirators, hearing protection)
Measuring and Layout:
- Quality tape measures (25ft minimum)
- Speed squares and framing squares
- Chalk line for layout
- Plumb bob for vertical alignment
The Team Effort Reality
Very few people can build a quality DIY outdoor sauna entirely alone. You'll likely need assistance with:
- Heavy lifting during frame assembly
- Holding materials during installation
- Safety spotting during roof work
- Problem-solving complex construction challenges
- Electrical work (professional electrician required)
The most successful DIY sauna projects involve a small team of dedicated helpers who can commit to seeing the project through to completion.
Step-by-Step Guide: Building Your Dream Outdoor Sauna
Phase 1: Planning and Preparation
Choose Your Design
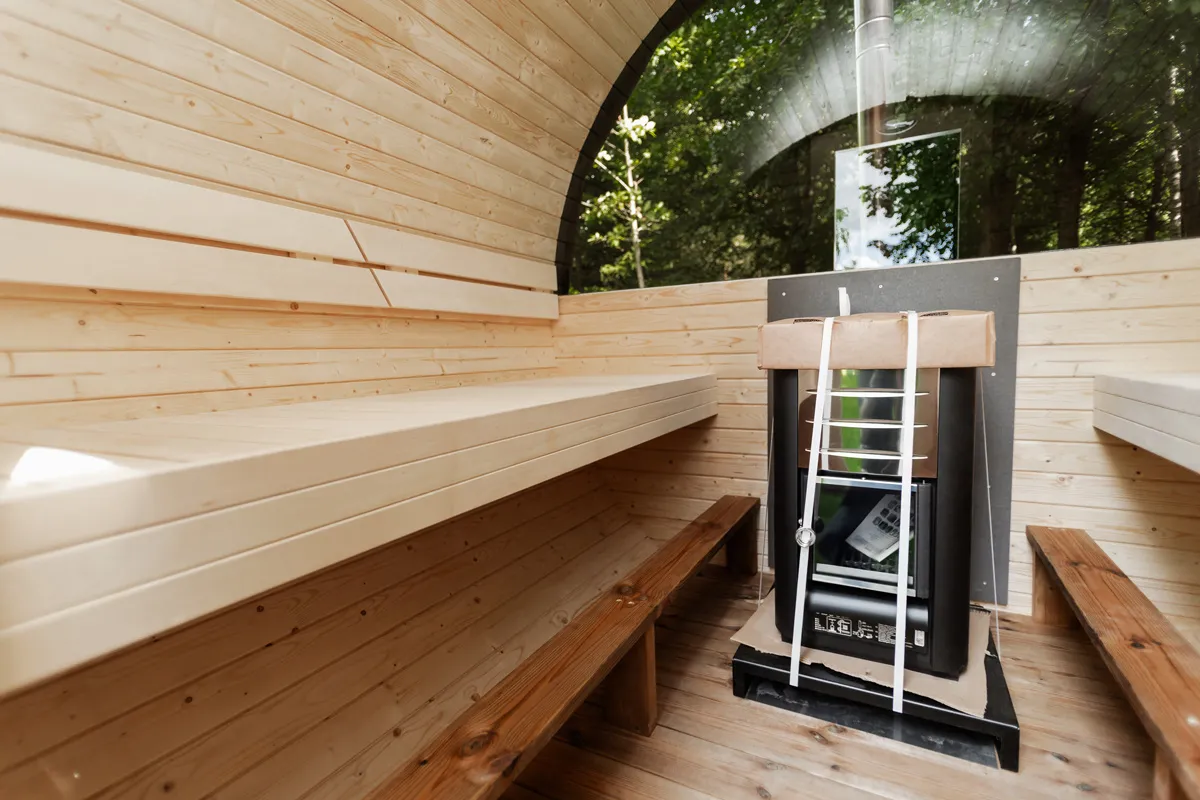
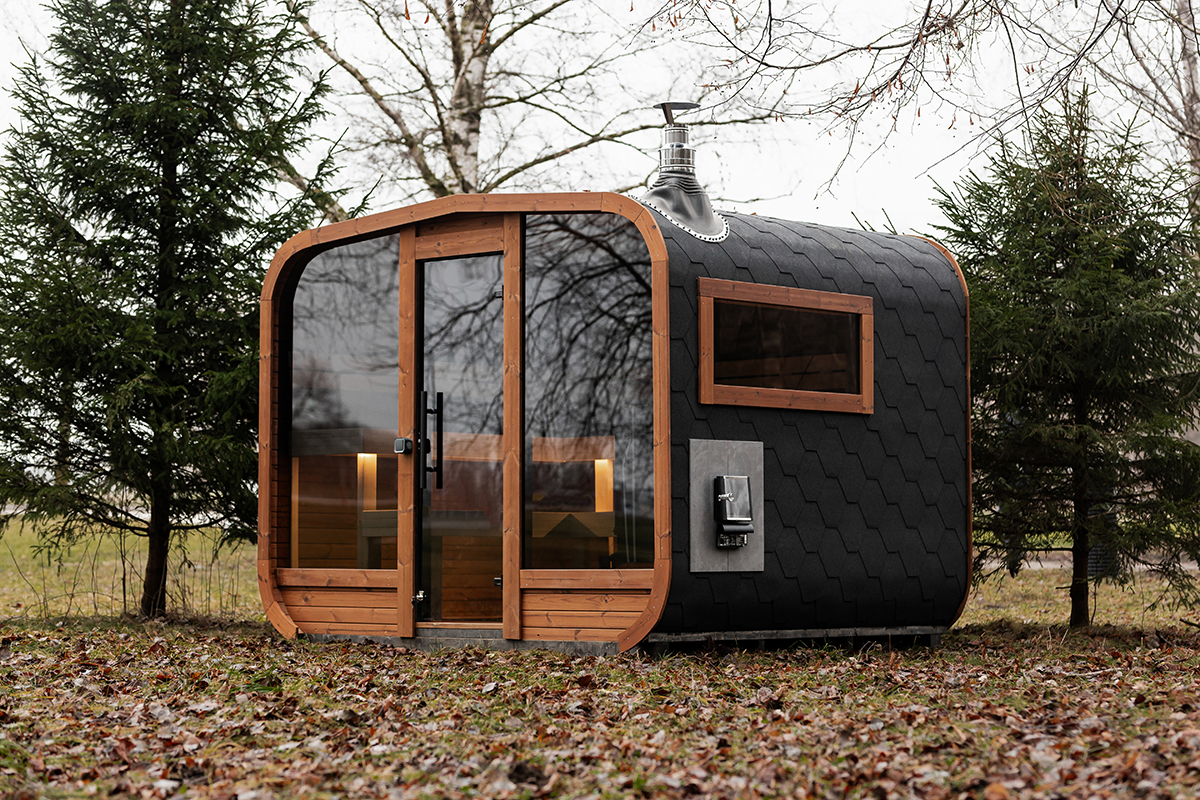
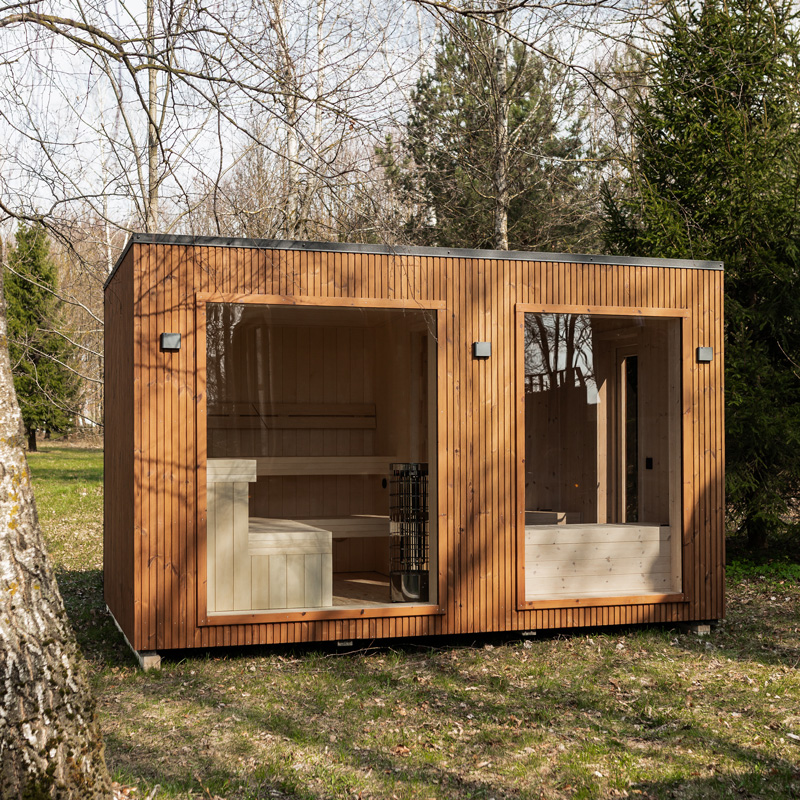
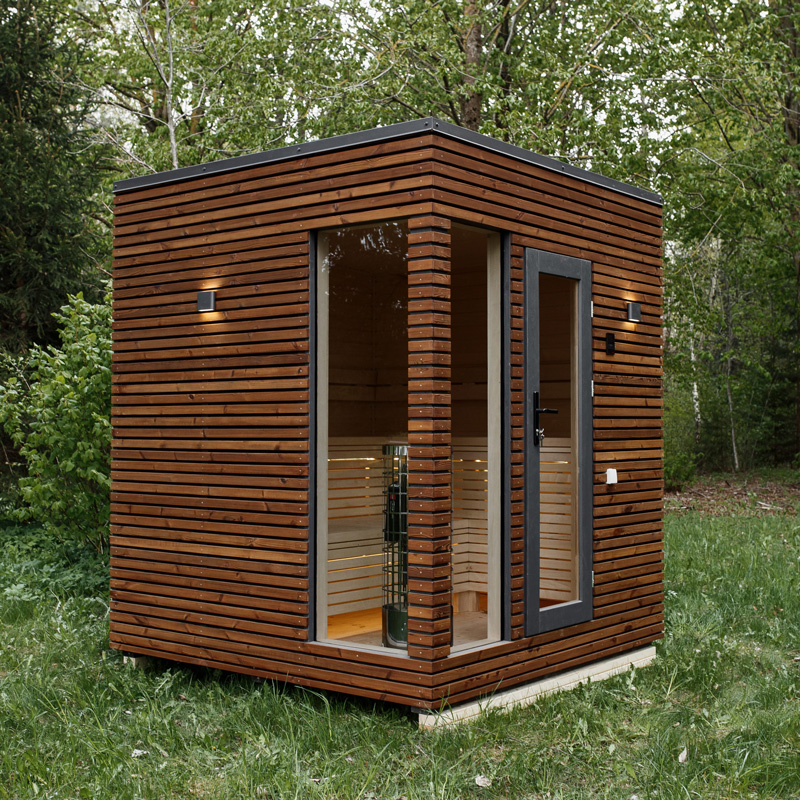
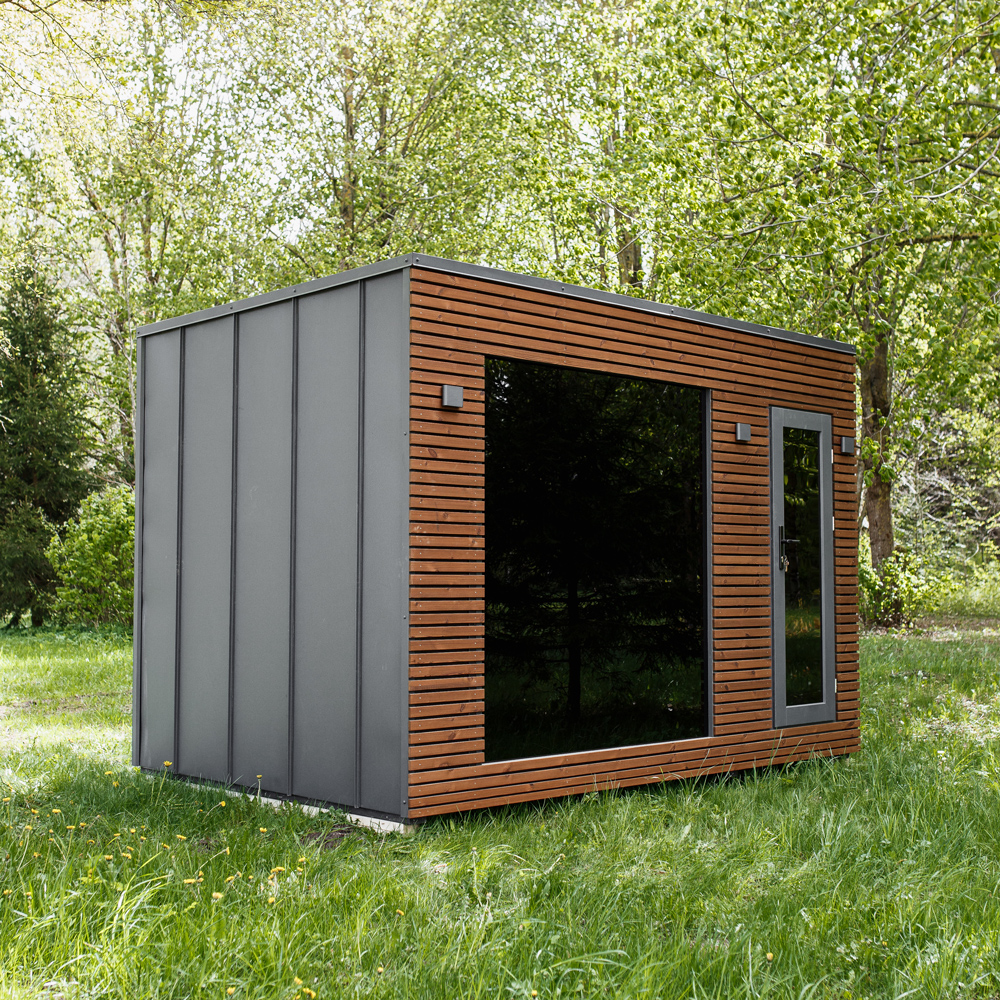
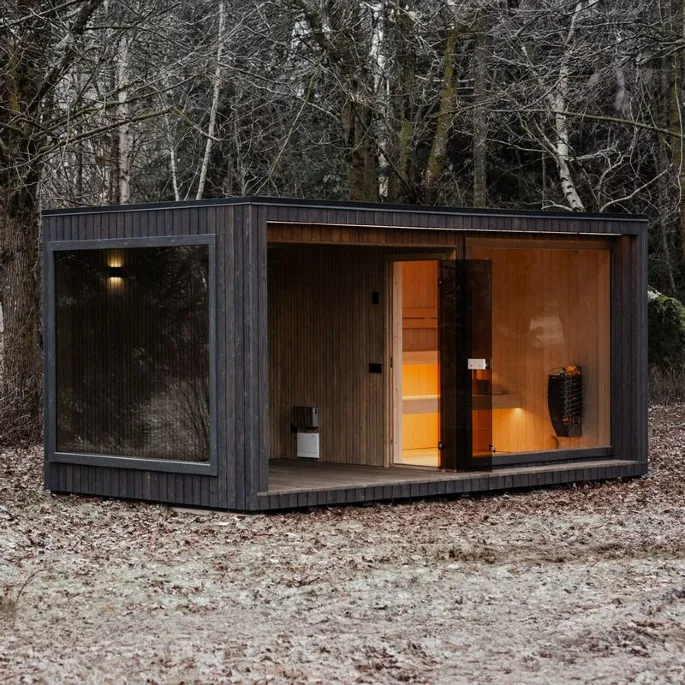
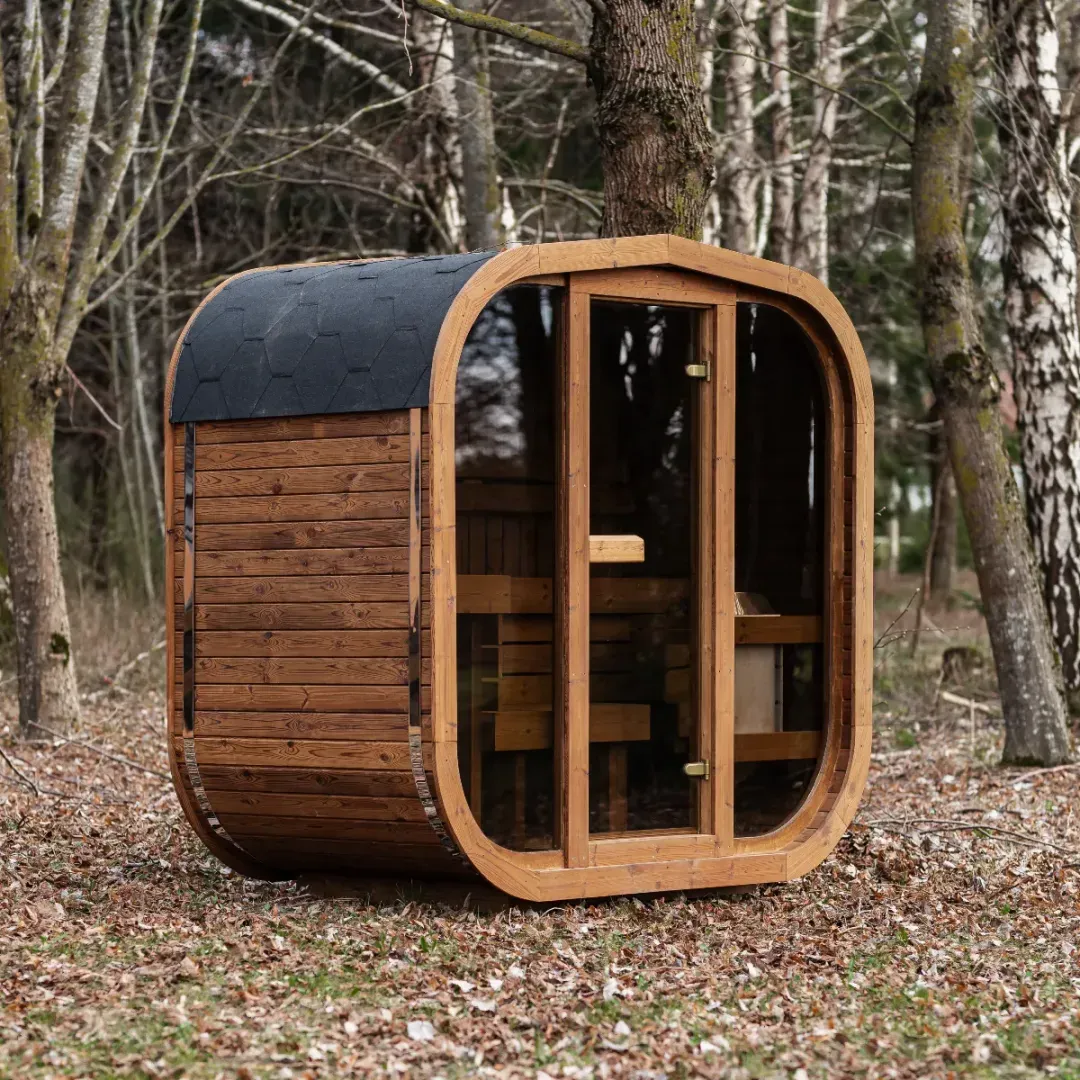
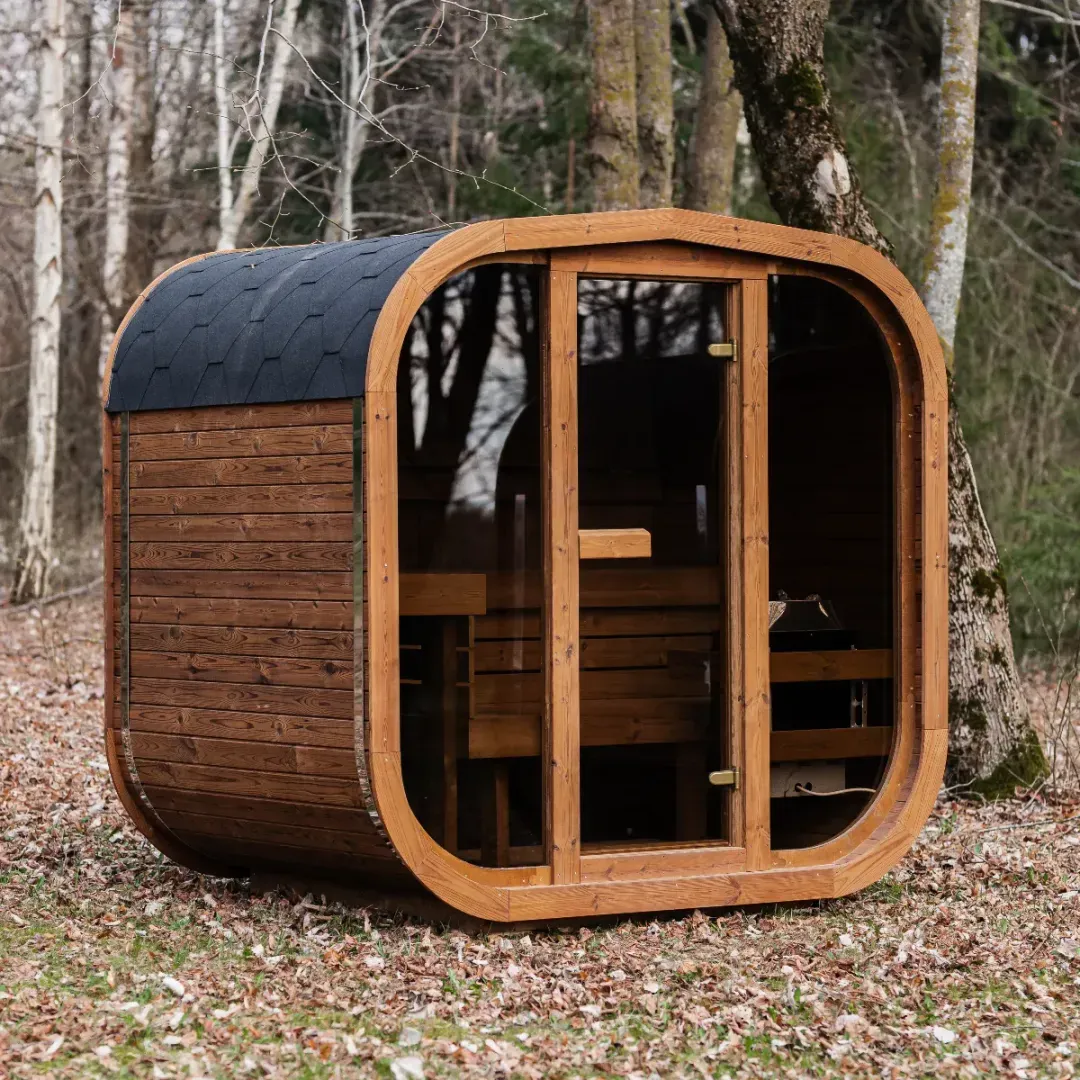
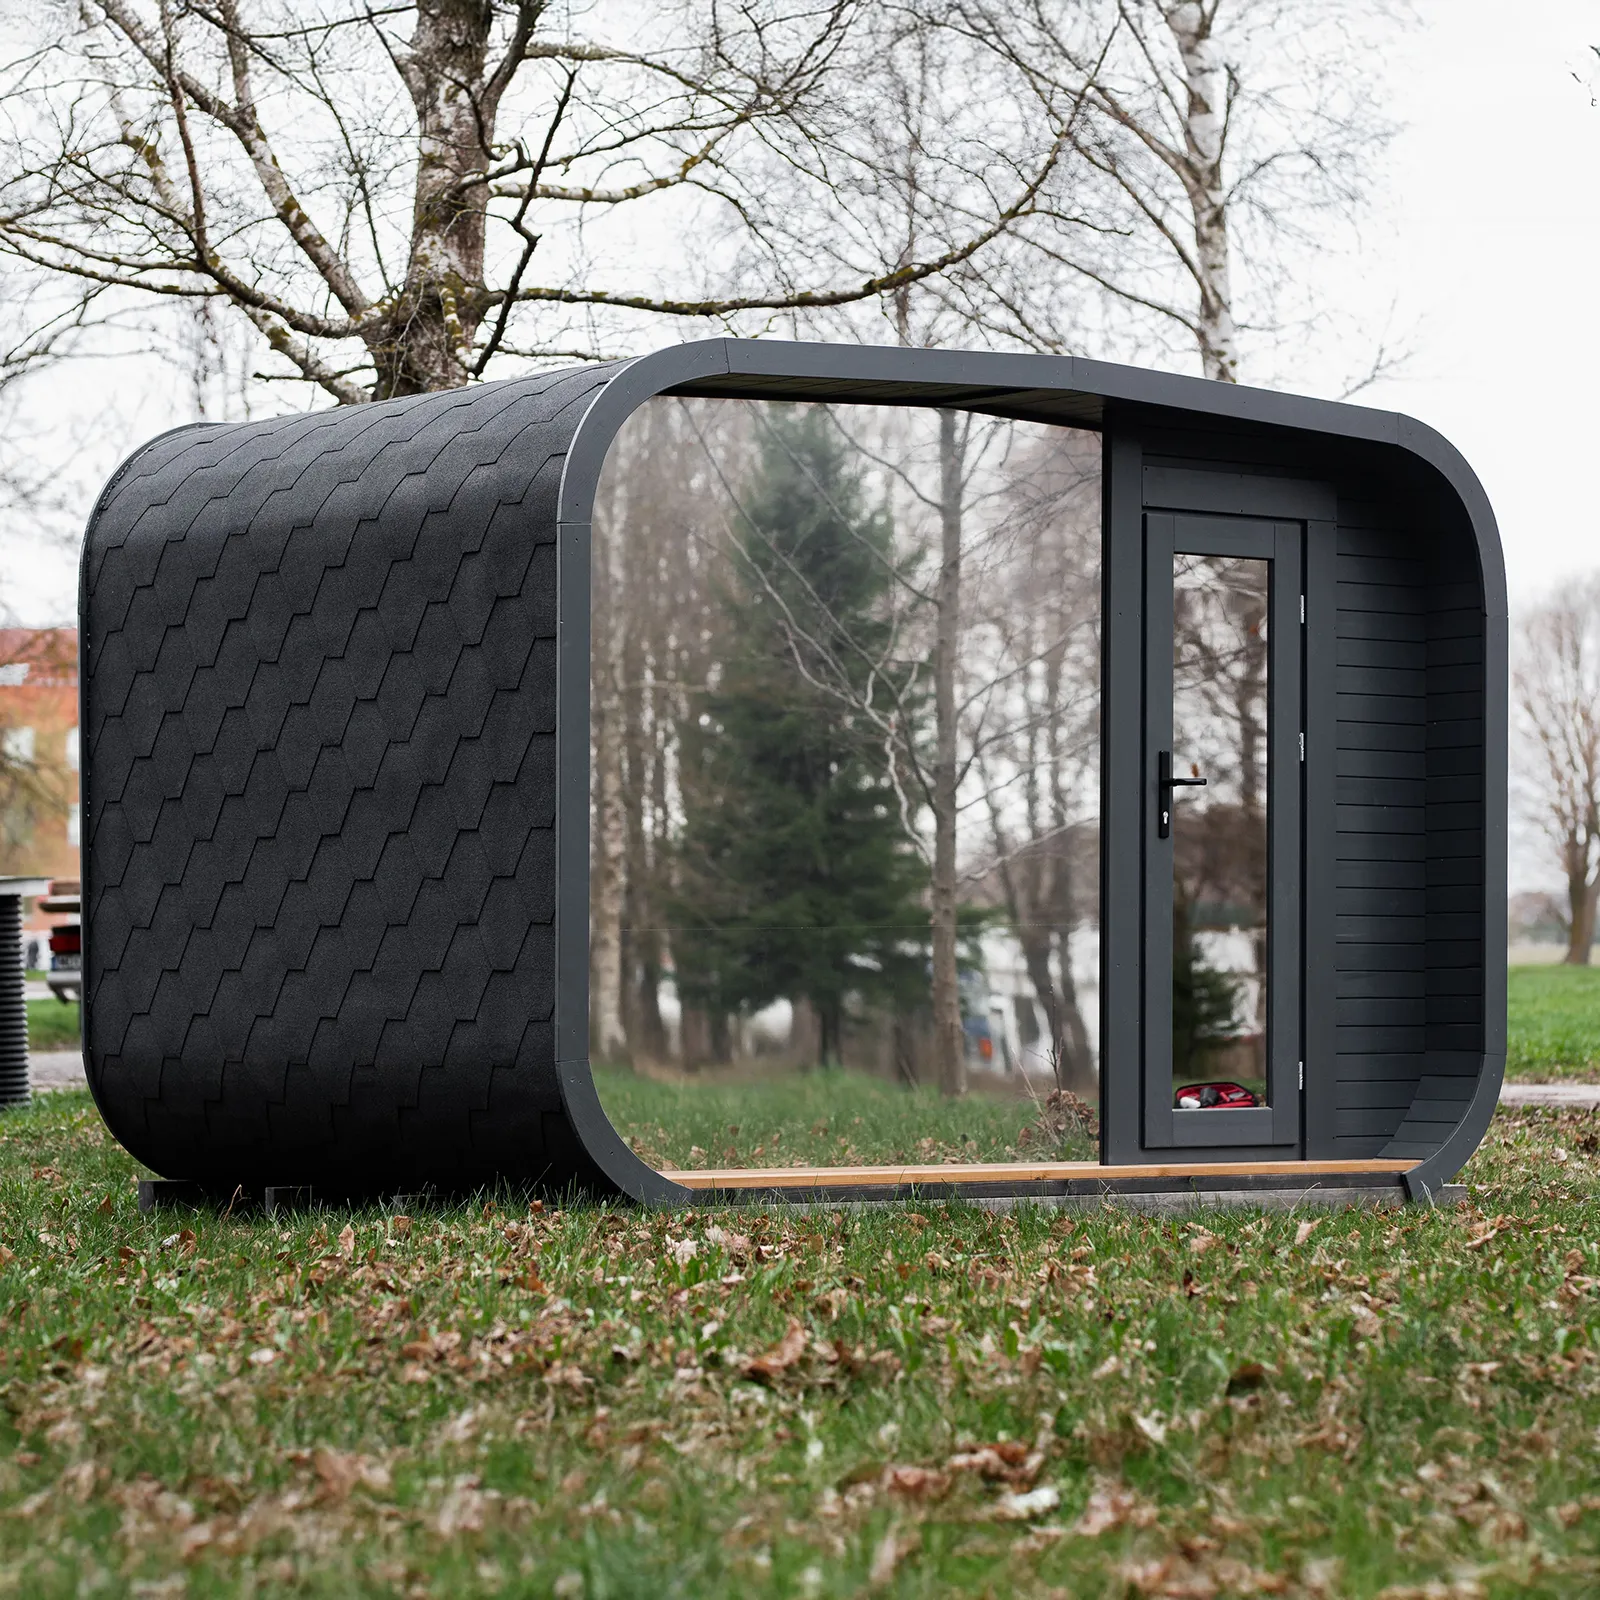
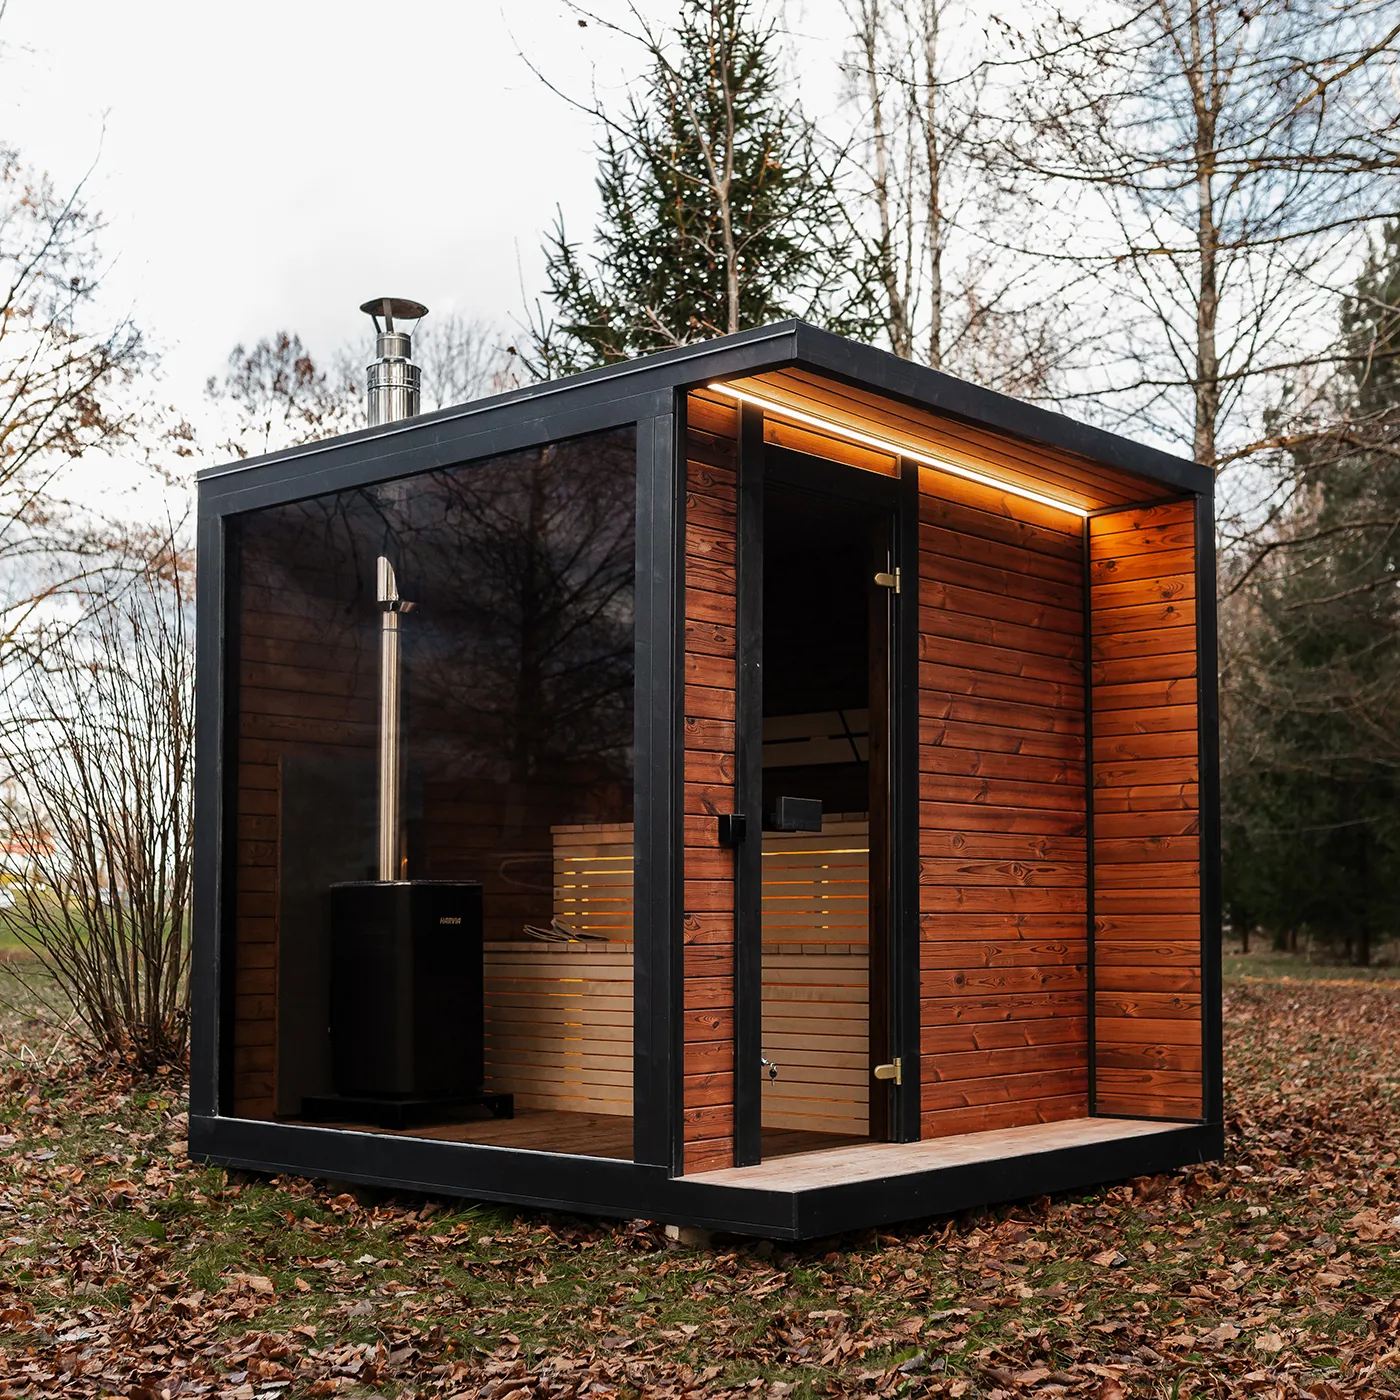
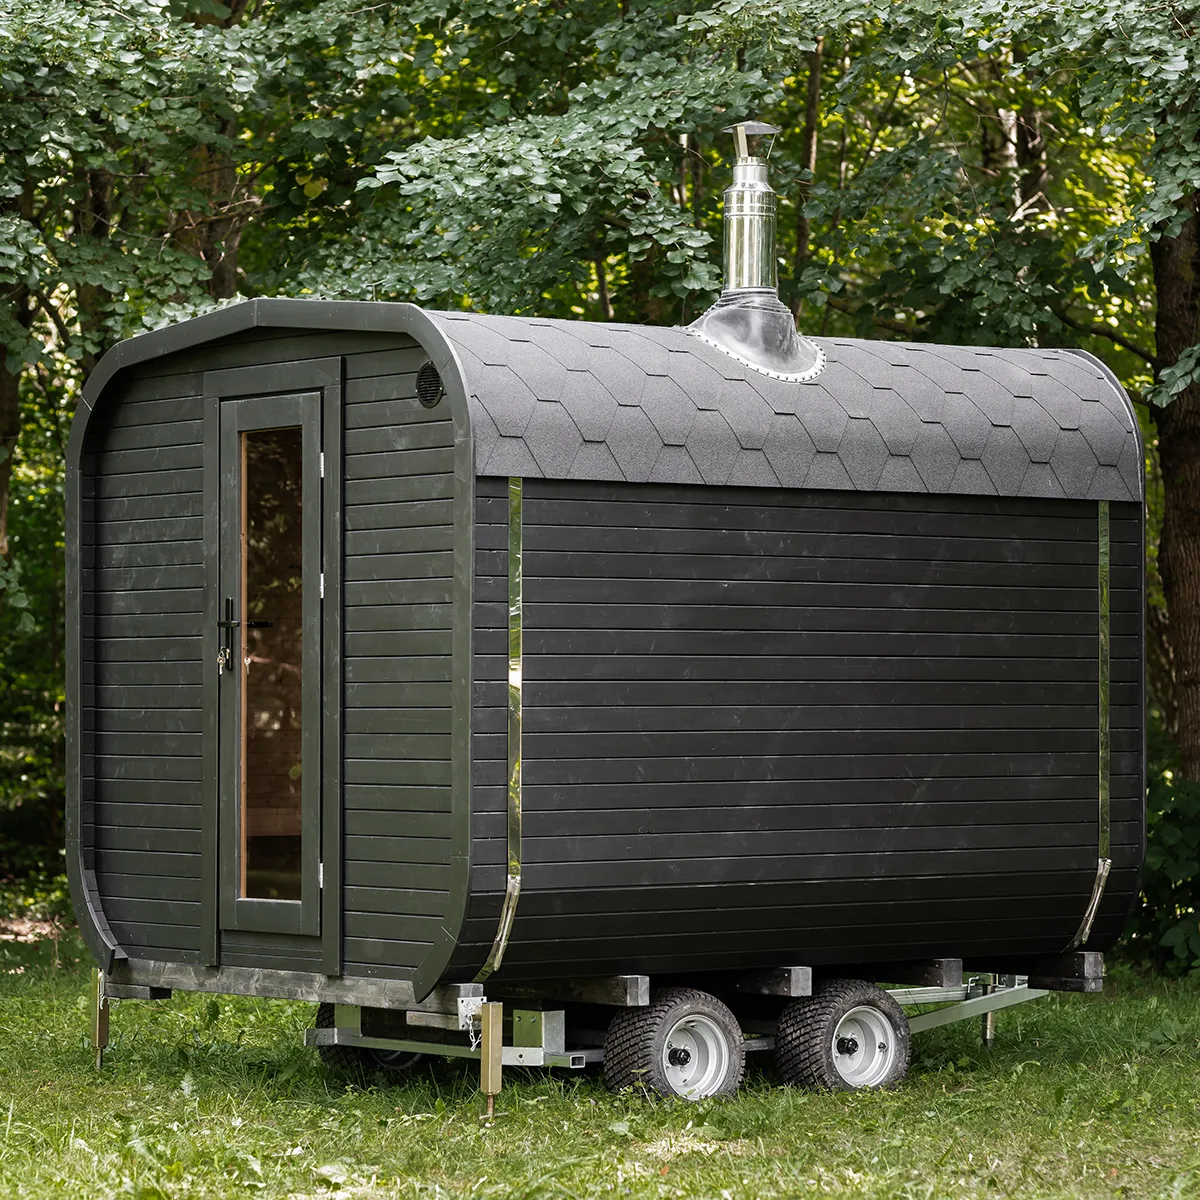
For first-time builders, we recommend a simple square or cube design like our saunas Morgan or Diana rather than complex barrel shapes like our Vivian or multi-angle structures. A basic 6ft x 6ft (1.8m x 1.8m) sauna provides comfortable space for 2-4 people while remaining manageable for DIY construction.
Browse our full selection of hand-built saunas
Obtain Necessary Permits
Check with your local council regarding building regulations and planning permission. In the UK, most small outdoor saunas fall under permitted development rights, but regulations can vary by location, especially in conservation areas or if you're planning a wood-burning sauna in a smoke control zone.
Site Preparation and Foundation
Choose a level location with good drainage and accessibility. Your foundation options include:
- Concrete pad: Most durable option, requiring excavation and proper curing time
- Gravel base with pavers: Cost-effective alternative for lighter structures
- Wooden deck foundation: Elevated option with built-in drainage
Phase 2: Material Selection and Ordering
Lumber Choices
- Western Red Cedar: Premium choice for both interior and exterior, naturally resistant to moisture and insects. Cedar's natural oils provide antimicrobial properties while releasing that signature aromatic scent when heated, creating an authentic sauna experience.
- Nordic Spruce: Excellent for framing, cost-effective and durable. This timber offers exceptional strength-to-weight ratio and remains stable under temperature fluctuations, making it ideal for structural components.
- Pressure-treated lumber: Essential for any ground-contact elements. Use only for foundation plates and areas where moisture contact is inevitable, as treated lumber should never be used in the sauna interior due to chemical off-gassing when heated.
Insulation and Vapor Barriers
- High-quality fiberglass batts (R-19 minimum for walls, R-30 for ceiling). Proper insulation thickness ensures your sauna reaches temperature efficiently and maintains heat effectively, directly impacting both comfort and operating costs.
- Foil-faced vapor barrier with proper overlap techniques. The foil facing should always face the heated interior, and seams must overlap by at least 4 inches with sealed joints to prevent moisture infiltration into wall cavities.
- Specialized sauna-grade materials for high-temperature areas. Areas around the heater require specialized heat-resistant barriers and insulation rated for temperatures up to 200°C to prevent fire hazards and maintain structural integrity.
Hardware and Fasteners
- Stainless steel screws and nails to prevent corrosion. Standard steel fasteners will rust rapidly in the high-heat, high-moisture sauna environment, potentially staining your beautiful cedar and compromising structural connections.
- Heavy-duty hinges for sauna door. Sauna doors experience significant thermal expansion and must swing freely under all temperature conditions while maintaining proper sealing when closed.
- Specialized sauna door handle and latch. Standard hardware can become dangerously hot to touch; sauna-specific handles remain cool and safe while providing reliable operation in extreme temperatures.
- Ventilation grilles and ducting materials. Proper air circulation prevents moisture buildup and ensures even heat distribution, requiring specialized grilles that won't warp or deteriorate in the sauna environment.
Phase 3: Foundation and Framing
Foundation Construction
- Excavate the area to required depth (typically 4-6 inches). Remove all organic matter including grass, roots, and topsoil to prevent settling and ensure a stable base that won't shift over time.
- Create level base using string lines and a laser level. Perfect leveling is crucial because any deviation will compound as you build upward, potentially causing door alignment issues and structural problems.
- Install base materials (concrete, gravel, or deck structure). Proper drainage beneath your foundation prevents frost heave and water accumulation that could damage your sauna's structural integrity.
- Allow proper curing time before proceeding. Concrete requires at least 7 days to achieve sufficient strength, though 28 days is ideal for full curing and maximum durability.
Frame Assembly
- Cut all lumber to precise measurements using professional cutting techniques. Measure twice, cut once applies especially here—mistakes in framing will affect every subsequent phase of construction.
- Assemble walls on the ground before raising into position. Ground-level assembly ensures square, plumb construction and allows you to work safely and efficiently before the heavy lifting begins.
- Install corner posts and headers with proper structural connections. These elements carry the most load and must be securely fastened using appropriate structural screws or bolts rather than standard nails.
- Frame door and window openings with appropriate headers and trimming. Openings require additional structural support to carry loads around these interruptions in your wall system.
- Install roof rafters with proper spacing and angle cuts. Consistent spacing (typically 16" or 24" on center) ensures even load distribution and provides adequate support for roofing materials and snow loads.
Phase 4: Roofing and Weatherproofing
Roof Structure
- Install roof decking using exterior-grade plywood or OSB. The decking provides a solid base for roofing materials while adding significant structural strength to your frame assembly.
- Apply underlayment for moisture protection. This secondary barrier protects against wind-driven rain and ice dam formation, which are common causes of roof leaks in outdoor structures.
- Install roofing material (metal roofing is popular for saunas). Metal roofing sheds snow effectively and withstands the thermal cycling that occurs as your sauna heats and cools repeatedly.
- Flash all penetrations including chimney or vent installations. Proper flashing at roof penetrations is critical—most roof leaks occur at these vulnerable transition points rather than in the field of the roof itself.
Weather Barriers
- Install house wrap on exterior walls. This breathable barrier allows moisture to escape from within the wall cavity while preventing external moisture infiltration.
- Flash all openings properly. Windows, doors, and any wall penetrations require careful flashing installation to direct water away from the interior structure.
- Install exterior siding with proper ventilation gaps. Air circulation behind siding prevents moisture accumulation and allows the wall system to dry naturally after rain or snow.
Phase 5: Insulation and Interior Work
Insulation Installation
- Install batts between studs without compression. Compressed insulation loses its R-value significantly because the trapped air spaces that provide thermal resistance are eliminated.
- Apply vapor barrier with 4-inch overlaps and proper sealing. The vapor barrier prevents interior humidity from penetrating into wall cavities where it could condense and cause rot or mold issues.
- Install interior ceiling before walls to maintain vapor barrier integrity. This sequence ensures continuous vapor barrier coverage and prevents thermal bridging at the wall-ceiling junction.
Interior Finishing
- Install tongue-and-groove cedar horizontally for walls. Horizontal installation is traditional and allows for natural thermal expansion while creating the classic sauna aesthetic with clean, continuous lines.
- Install ceiling boards with proper ventilation considerations. Ceiling installation requires careful planning around light fixtures and ventilation openings to maintain both functionality and visual appeal.
- Build and install benches with proper support and spacing. Bench height should allow comfortable seating while maximizing heat exposure—typically 18" for lower benches and 30" for upper benches from the floor.
- Install door with exterior swing for safety. Sauna doors must always swing outward to prevent users from being trapped inside if they become disoriented by the heat.
Phase 6: Heating and Electrical Systems
Electrical Work (Professional Required)
- Install electrical service to sauna location. Most saunas require 220V service with appropriate amperage for your chosen heater—this is not suitable for DIY electrical work due to safety and code requirements.
- Wire heater circuit according to manufacturer specifications. Heater circuits require proper wire gauge, disconnect switches, and overcurrent protection as specified by both manufacturer requirements and local electrical codes.
- Install lighting circuits with moisture-rated fixtures. Sauna lighting must be rated for high-temperature, high-humidity environments and positioned to avoid glare while providing adequate illumination.
- Connect ventilation fan if electric ventilation is used. Ventilation fans help maintain proper air circulation and must be wired to appropriate controls that can handle the sauna environment.
Heating System Installation
- Install heater base with proper clearances. Manufacturer specifications for clearances from combustible materials must be followed exactly—these requirements exist for fire safety and optimal heater performance.
- Connect electrical supply (by certified electrician). Final heater connections must be made by qualified professionals to ensure safety and maintain any warranty coverage on your heating equipment.
- Install sauna stones according to heater specifications. Proper stone placement affects heat distribution and air circulation—use only stones recommended by your heater manufacturer for optimal performance and safety.
- Test all systems before final use. Complete system testing includes verifying proper heater operation, temperature controls, lighting, and ventilation to ensure everything functions safely and correctly.
Read also: Infrared vs. Traditional Sauna: A Comprehensive Comparison
Phase 7: Ventilation and Safety Systems
Ventilation Installation
- Install intake vent low behind heater. The intake vent should be positioned near floor level behind or beside the heater to draw fresh air across the heating elements for optimal air circulation.
- Install exhaust vent high in opposite corner. Exhaust vents are typically placed at ceiling level diagonally opposite from the heater to create proper air movement patterns throughout the sauna space.
- Connect ducting if required for exterior wall access. If vents cannot be placed directly in exterior walls, insulated ducting can redirect airflow—avoid long duct runs that can impede proper ventilation.
- Test air circulation patterns. Proper ventilation should create gentle air movement that distributes heat evenly without creating uncomfortable drafts on users.
Safety Features
- Install interior lighting with proper moisture rating. Sauna lights must be rated for high-temperature, high-humidity environments and positioned to provide adequate illumination without creating glare or hot spots.
- Verify door operates smoothly and swings outward. The door should open and close easily at all temperatures and never have a lock—users must always be able to exit quickly if needed.
- Check all electrical connections with qualified electrician. A final electrical inspection ensures all connections are secure, properly grounded, and meet local electrical codes for safety and insurance compliance.
- Install temperature and time controls properly. Controls should be easily accessible but positioned away from direct heat exposure, allowing users to monitor and adjust sauna conditions safely.
Essential Safety Considerations
Fire Safety
- Maintain proper clearances around all heating elements
- Use fire-resistant materials near heater installation
- Install smoke detection systems in surrounding areas
- Keep fire extinguisher easily accessible
Electrical Safety
- All electrical work must be performed by certified electricians
- Use GFCI protection on all circuits
- Install moisture-rated fixtures throughout
- Regularly inspect all electrical components
Structural Safety
- Ensure foundation can support loaded structure weight
- Use proper structural connections throughout
- Verify local wind and snow load requirements
- Regular inspection of all structural elements
UK Cost Breakdown: What to Expect
Basic Materials (6ft x 6ft sauna):
- Foundation materials: £200-£500
- Framing lumber: £300-£600
- Cedar interior materials: £800-£1,500
- Insulation and vapor barriers: £200-£400
- Roofing materials: £300-£600
- Door and hardware: £400-£800
- Electrical materials: £200-£400
Heating System:
- Basic electric heater: £300-£800
- Premium electric heater: £800-£2,000
- Wood-burning stove: £500-£2,500
Professional Services:
- Electrical installation: £500-£1,200
- Foundation work (if hired): £400-£1,000
- Building permits/inspections: £100-£300
Total Estimated Cost: £3,500-£8,500
These costs reflect materials and services but don't include the significant time investment—typically 40-80 hours of work depending on skill level and complexity.
Cost-Saving Strategies:
- Use reclaimed materials where safe and appropriate
- Simple design choices reduce complexity and material waste
- Group buying with other DIY builders for material discounts
- Seasonal purchasing during off-peak construction periods
Timeline: What to Realistically Expect
Weekend Warrior Approach: 6-12 weeks
- 2-3 hours on weekdays for planning and preparation
- Full weekend sessions for major construction phases
Dedicated Daily Work: 3-5 weeks
- 4-6 hours daily with consistent progress
- Weather-dependent for outdoor phases
Intensive Build: 10-14 days
- Full-time dedication with helper assistance
- Requires pre-ordering all materials and permits
Read also: How Much Does a Sauna Cost in the UK? Build or Buy Comparison
When DIY Isn't the Right Choice
Building your own outdoor sauna requires honest self-assessment. Consider professional installation or kit options if you:
- Lack specialized tool access or can't justify the investment
- Have limited construction experience with complex projects
- Can't dedicate sustained time to see the project through completion
- Don't have reliable helper assistance for heavy construction phases
- Prefer warranty protection and professional guarantees
- Want faster completion without learning curve delays
A Gentler Path to Your Sauna Dreams
We understand your desire to express your skills and creativity through building your own outdoor sauna. There's genuine satisfaction in creating something beautiful and functional with your own hands, and we deeply respect that motivation. However, if you don't feel completely confident in tackling this complex project, or if circumstances have changed your mind for any reason, we want you to know that there are other paths to achieving your sauna dreams.
At Eden Hut, we've spent years perfecting the balance between quality craftsmanship and accessible assembly. Our handcrafted outdoor saunas arrive as thoughtfully designed kits that honor your desire to be involved in the creation process while eliminating the overwhelming complexity of building from scratch.
Why Choose Eden Hut's Approach:
Quality You Can Trust
Our saunas are constructed using premium Nordic timber that's been carefully selected and prepared by master craftsmen. Each component is precision-cut and pre-finished to exacting standards, ensuring your sauna not only looks beautiful but performs flawlessly for decades to come.
Unlike building from scratch, our sauna kits feature:
- Pre-cut components that fit together perfectly every time
- Clear, detailed instructions with step-by-step guidance
- All necessary hardware included in your kit
- Expert support available throughout your assembly process
Professional Results Without Professional Stress
You'll still experience the satisfaction of assembling your own sauna, but without the uncertainty of complex planning, material selection, or troubleshooting construction problems. Every Eden Hut sauna kit has been designed to deliver professional results regardless of your previous building experience.
Comprehensive Support
- 2-year warranty on all components and craftsmanship
- Expert consultation available for site preparation and setup
- Assembly assistance if you need professional help
- Ongoing maintenance support to keep your sauna in perfect condition
Making the Right Choice for You
Whether you choose to build your own sauna or assemble one of our premium outdoor saunas, the goal remains the same: creating a personal sanctuary where you can escape, relax, and reconnect with what matters most. The path you choose should align with your skills, available time, and comfort level with complex construction projects.
Building an outdoor sauna from scratch is undoubtedly challenging, but with careful planning, proper tools, adequate help, and realistic expectations, it can be one of the most rewarding DIY projects you'll ever complete. However, there's no shame in choosing a more manageable path that still allows you to be intimately involved in creating your wellness sanctuary.
Conclusion
The dream of having your own outdoor sauna is absolutely achievable, whether through the challenging but rewarding path of complete DIY construction or the more accessible route of premium kit assembly. Both approaches lead to the same wonderful destination: your own private wellness sanctuary just steps from your back door.
If you're equipped with advanced carpentry skills, have access to professional tools, can dedicate significant time to the project, and have reliable help available, building an outdoor sauna from scratch can provide immense satisfaction and a truly custom result. Just remember that this is a complex undertaking that requires honest assessment of your capabilities and resources.
For those who prefer a balance of involvement and reliability, Eden Hut's handcrafted saunas offer the perfect middle ground. You'll still experience the joy of creating your own sauna while benefiting from professional design, premium materials, and expert support throughout the process. Contact us to discuss your project and discover how we can help bring your sauna vision to life.


.avif)

%201%20(1).avif)

.webp)
.webp)
-min.jpg)


.webp)


.webp)


.svg)

.png)