Outdoor Sauna Installation: Your Complete Assembly Guide


When your sauna kit arrives, there's a moment of excitement mixed with a touch of uncertainty. You've got boxes of carefully crafted components, an instruction manual, and the vision of your finished outdoor sanctuary. The question is: how do you transform these parts into the retreat you've been dreaming about?
At Eden Hut, we have a dedicated team of skilled professionals who handle installations for our clients day in and day out. These aren't just assembly workers, they're craftspeople who've perfected the art of sauna installation through years of hands-on experience. They know every step intimately, every potential pitfall, and every trick that transforms a challenging build into a smooth, satisfying process. We've also guided hundreds of DIY enthusiasts through their own installations, answering questions and troubleshooting issues along the way. This isn't theory from a manual; it's practical knowledge earned through real-world experience, and we're sharing it all with you here.
This guide focuses specifically on outdoor sauna kit assembly, not building from scratch, but putting together pre-cut, quality components designed to fit together properly. Whether you've purchased from us or elsewhere, we're sharing everything we've learned to help you install your sauna correctly the first time.
Here’s a quick overview of what to expect before and during your outdoor sauna installation, from preparation and tools to total time and cost.
And if you’re already familiar with the prep work or just want to get straight to the build, skip ahead to our step-by-step installation guide below.
Before You Begin: Essential Preparation
The quality of your installation depends heavily on what you do before you ever open the first box. We know the temptation is to jump straight into assembly, but the preparation phase is where successful installations are truly built.
Time spent on proper preparation isn't wasted; it's invested. Every hour you spend getting your site ready, gathering the right tools, and understanding the process saves you multiple hours of frustration later. The difference between smooth builds and problematic ones almost always comes down to preparation.
We've made an effort to cover everything here, the things that seem obvious until you're halfway through assembly and realize you've missed something critical, the details that manuals often gloss over, and the practical considerations that only become apparent through experience. Take your time with this section. Read through it completely before you start, and you'll approach your installation with confidence rather than uncertainty.
Site Selection and Foundation
Choosing where to place your outdoor sauna is one of the most important decisions you'll make, and getting the foundation right is absolutely non-negotiable. We've seen beautiful saunas compromised by poor site selection and inadequate foundations, don't let that be you.
Location considerations that matter:
Before you commit to a spot, think about these factors that will affect your enjoyment for years to come:
- Privacy: You want a space that feels like a retreat, not a fishbowl
- Accessibility: Consider the path from your home, especially in winter
- Drainage: Water must flow away from your sauna, not towards it
- Sun exposure: Morning sun can be lovely; afternoon sun might make it too hot in summer
- Wind protection: Strong winds can make entering and exiting uncomfortable
- Proximity to utilities: If using an electric heater, closer to your consumer unit means lower electrical installation costs
Legal and regulatory requirements:
This is where many people get tripped up. Before you do anything else:
- Check local building codes: Structures under 120 square feet typically don't require permits in many areas, but regulations vary enormously
- Verify setback requirements: Most areas require structures to be a certain distance from property lines, usually 1-3 meters
- HOA regulations: If applicable, get written approval before you start. Some HOAs have specific requirements about structure appearance, placement, or even whether outdoor saunas are permitted at all
- Smoke control zones: Particularly relevant if you're installing a wood-burning sauna, these are restricted in some urban areas
Skipping these checks can result in fines, forced removal, or complications when you sell your property. It's worth a few phone calls upfront.
Your foundation is absolutely critical. We cannot stress this enough: a level, stable base makes the difference between a sauna that performs beautifully for decades and one that develops problems within months. Here are your options, ranked by durability:
Concrete pad (our top recommendation):
- 10-15cm thick reinforced concrete
- Extends 15-20cm beyond sauna footprint on all sides
- Properly levelled (use a spirit level, check multiple points)
- Allowed to cure for at least 7 days before assembly
- Cost: Higher upfront, but zero maintenance
Paving slabs:
- Minimum 5cm thick slabs
- Laid on compacted hardcore base (10cm minimum)
- Gaps filled with jointing compound
- More affordable than concrete, still very stable
- Easier to adjust if needed
Gravel base with timber frame:
- 15cm of compacted crushed stone
- Pressure-treated timber frame on top
- Must include proper drainage
- Most affordable option
- Requires more maintenance over time
What we see go wrong: People placing saunas directly on grass, using inadequate foundations, or skipping the levelling process. The result? Doors that won't close properly, gaps that leak heat, structural stress that shortens the sauna's lifespan. Don't take shortcuts here.
Tools You'll Actually Need
Having the right tools makes this process infinitely smoother. Here's what we recommend having ready:
Essential tools:
- Cordless drill with Phillips and flat-head bits
- Spirit level (at least 60cm long, you'll use this constantly)
- Rubber mallet (don't use a regular hammer, you'll damage the wood)
- Tape measure (5m minimum)
- Adjustable wrench or socket set
- Screwdriver set
- Utility knife
- Pencil for marking
Helpful but not essential:
- Second cordless drill (speeds up work significantly)
- Circular saw (for any adjustments needed)
- Work gloves (cedar can be splintery)
- Step ladder
- Clamps (helpful for holding panels while securing)
For electrical work:
- Nothing. Hire a qualified electrician. Seriously.
Where to get your tools:
If you don't already have these tools, you have several options:
Purchase: B&Q, Screwfix, and Toolstation all stock quality tools at reasonable prices. A basic toolkit adequate for sauna installation runs £80-150 if you're starting from scratch. Consider it an investment, you'll use these tools for other projects.
Hire: Tool hire is excellent for items you'll only use once. HSS Hire and Brandon Hire Station operate throughout the UK and offer daily or weekend rates:
- Cordless drill: £8-12 per day
- Circular saw: £12-18 per day
- Spirit level and hand tools: Often available in starter kits for £15-20 per day
Many B&Q stores also offer tool hire services, which can be convenient if you're already purchasing materials there.
Borrow: If you have DIY-inclined friends or family, this is the perfect project to borrow tools for. Most people are happy to lend tools for a weekend, especially if you offer to return them spotlessly clean (and perhaps with a first invitation to try your new sauna).
Explore our complete selection of outdoor garden saunas.
Step-by-Step Installation: How to Install a Sauna
Now for the actual build. We'll walk you through this methodically, the way we do it ourselves. Plan for 6-10 hours of work with two people, depending on sauna size and your experience level.
Step 1: Base Assembly (45-60 minutes)
The base is your starting point, and it sets the stage for everything else.
- Position base frame on your prepared foundation
- Check level in multiple directions, front-to-back, side-to-side, and diagonally
- Use shims if needed (never skip this to save time)
- Secure base panels to the frame using provided screws
- Double-check level again after securing, it can shift
Eden Hut tip: We mark the exact center of the foundation before placing the base frame. This ensures equal overhang on all sides and makes wall alignment much easier.
Step 2: Wall Panel Assembly (2-3 hours)
This is where your sauna starts taking shape. Wall panels are heavy (typically 55-70kg), so having a second person is essential.
For tongue-and-groove panel systems:
- Start with the back wall
- Position the first panel vertically
- Ensure it's perfectly plumb (use your spirit level)
- Secure to the base using 9cm screws at 45-degree angle through the base of the panel into the floor frame
- Screw through the panel framing into the base at 60cm intervals
- Add side walls
- Fit the tongue-and-groove connections carefully
- Use rubber mallet to gently tap panels into place (never force them)
- Check plumb after each panel
- Secure corners with 7.5cm screws through the 2x3" corner framing every 60cm
- Install front wall with door frame
- This is typically two separate panels with the door opening between them
- Ensure door frame is perfectly square and plumb
- The door frame must be precise, this affects how well your door seals
Common mistakes we see:
- Forcing panels that aren't quite aligned (damages tongue-and-groove)
- Over-tightening corner screws (can warp panels)
- Forgetting to check plumb regularly (errors compound quickly)
- Not leaving the specified gap for door frame (doors won't fit properly)
For pre-fabricated panel systems:
Some kits come with large, pre-built wall sections:
- Position each wall section carefully (these are heavy, definitely need two people)
- Connect sections using provided brackets and fasteners
- Check alignment before fully tightening
- Seal joints according to manufacturer specifications
Step 3: Ceiling Installation (1-1.5 hours)
By this point, your sauna is starting to feel real. The ceiling is the next critical step.
- Verify wall tops are level before starting (fix any issues now)
- Install ceiling panels starting from one end
- Place first panel and check alignment on all sides
- Ensure equal overhang (typically 1-2cm) over exterior walls
- Secure to wall top plates with 9cm screws
- Fit tongue-and-groove for subsequent panels
- Check interior alignment as you go, grooves must line up properly
- Leave space for ventilation if specified in your manual
Eden Hut tip: We temporarily tack the first ceiling panel in place with just two screws, check the full layout, then secure it properly. This prevents the frustrating discovery that your last panel doesn't fit.
For outdoor saunas, many kits include fascia boards that attach to ceiling edges. Install these after all ceiling panels are secured, they provide weather protection and a finished appearance.
Step 4: Door Installation (30-45 minutes)
A properly hung door is crucial. An ill-fitting door wastes heat and causes ongoing frustration.
- Attach hinges to door first (usually 3 hinges for sauna doors)
- Position door in frame with proper clearance (usually 3-4mm all around)
- Mark hinge positions on door frame
- Secure hinges one at a time, testing fit between each
- Install door handle and latch mechanism
- Test door operation, it should close smoothly with slight resistance from the seal
Adjustment is normal: Expect to fine-tune the door position. Most sauna doors use adjustable hinges. If the door:
- Catches at the top: Adjust top hinge outward slightly
- Catches at the bottom: Adjust bottom hinge outward slightly
- Doesn't seal well: Adjust all hinges inward very slightly
Step 5: Bench Installation (45-60 minutes)
Benches seem straightforward, but positioning matters for both comfort and heat distribution.
- Review bench layout in your instructions, placement affects heat zones
- Attach support cleats to walls at specified heights
- Assemble bench frames if provided separately
- Position bench slats with proper spacing (typically 1-1.5cm gaps for drainage)
- Secure to supports using provided fasteners
- Check stability, benches must not rock or flex excessively
Height considerations:
- Upper bench: Typically 100-110cm from floor (hotter zone)
- Lower bench: Typically 45-50cm from floor (cooler zone)
- Ensure adequate head clearance when seated on upper bench (minimum 100cm to ceiling)
Step 6: Heater and Electrical Installation (Hire a Professional)
This is where we stop and hand over to qualified electricians. Sauna heaters typically require:
- Dedicated circuit (20-60 amp depending on heater size)
- Proper gauge wiring
- GFCI protection in most jurisdictions
- Correct clearances from combustible materials
- Proper grounding
What you can do:
- Provide access for wiring routes
- Discuss heater positioning with electrician
- Be present for final testing
What you cannot do safely without qualifications:
- Any electrical connections
- Running new circuits
- Installing breakers
The electrician will also install the control panel, temperature sensors, and lighting according to code. This typically takes 2-4 hours depending on complexity and distance from your consumer unit.
Step 7: Roof Installation (Outdoor Saunas Only) (2-3 hours)
For outdoor installations, the roof is your final weather barrier.
For sloped roof kits:
- Assemble roof frame according to specifications
- Attach frame to sauna walls, check that it's level and secure
- Install roof decking (usually plywood, pre-cut to size)
- Apply waterproof membrane starting at bottom edge, overlapping each row by 7-8cm
- Install roofing material (shingles, felt, or panels as provided)
- Add flashing and trim for weather protection
- Seal all penetrations (if any) for ventilation or chimney
For flat/gabled roofs:
- Follow manufacturer's specific instructions, designs vary significantly
- Pay special attention to drainage, water must not pool
- Ensure proper overhang for rain protection (minimum 15cm recommended)
Step 8: Sealing and Weatherproofing (1-2 hours)
This step is often underestimated but makes an enormous difference in performance and longevity.
- Inspect all seams between wall panels, ceiling, and base
- Apply high-temperature silicone sealant to any gaps
- Check door seal and add weather stripping if needed
- Seal around windows if applicable
- Apply exterior wood treatment if recommended (check warranty requirements first)
- Ensure proper ventilation, don't seal vent openings
Interior treatment: Never treat the interior wood of a new sauna. The wood needs to season naturally through heat cycles. After several months of use, you can consider a sauna-specific treatment if desired, but it's rarely necessary.
Step 9: Final Checks and Testing (30 minutes)
Before your first heat-up:
- Walk around the entire structure checking for:
- Loose fasteners
- Gaps or misalignments
- Door operation
- Bench stability
- Interior inspection:
- Remove any debris or sawdust
- Check for any sharp edges or splinters
- Verify heater guards are secure
- Ensure nothing is touching hot surfaces
- First heat test:
- Start heater at low temperature (60°C)
- Monitor for 30 minutes
- Check for any unusual smells (mild wood smell is normal, chemical smells are not)
- Verify even heat distribution
- Test controls and safety features
.jpg)
Read also: How to Build an Outdoor Sauna: Your Complete DIY Guide
Different Approaches for Different Sauna Types
While the general process is similar, specific sauna styles have unique considerations.
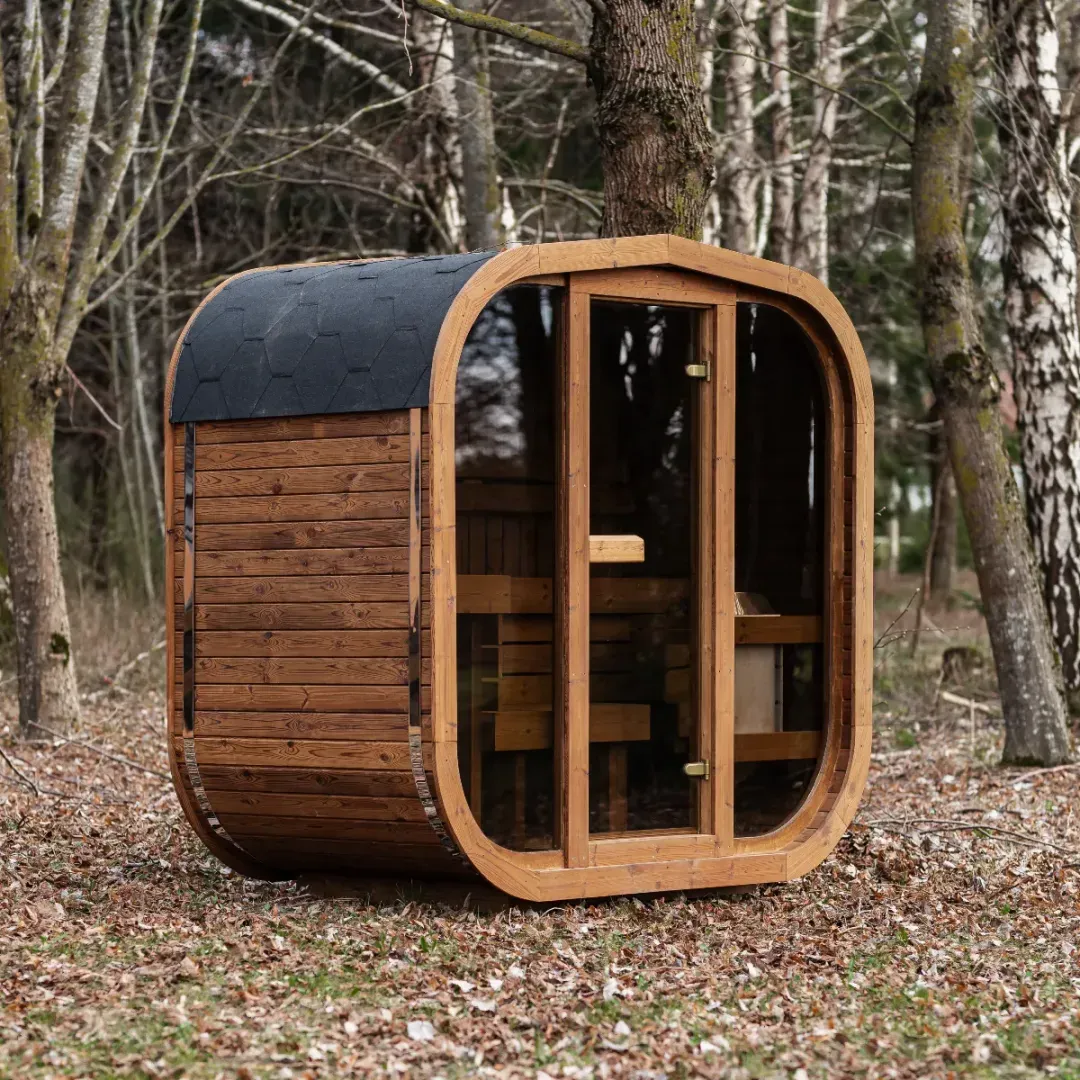
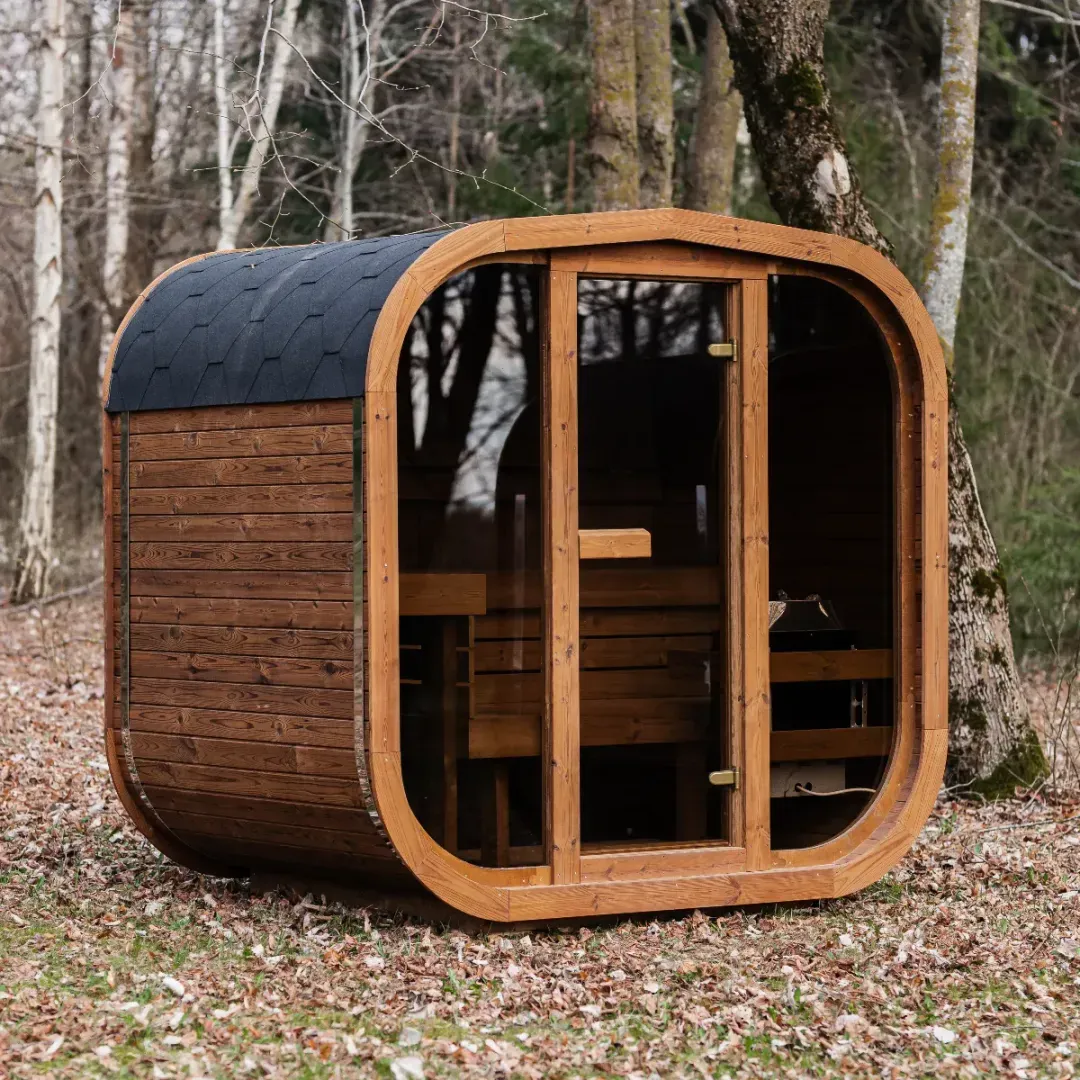
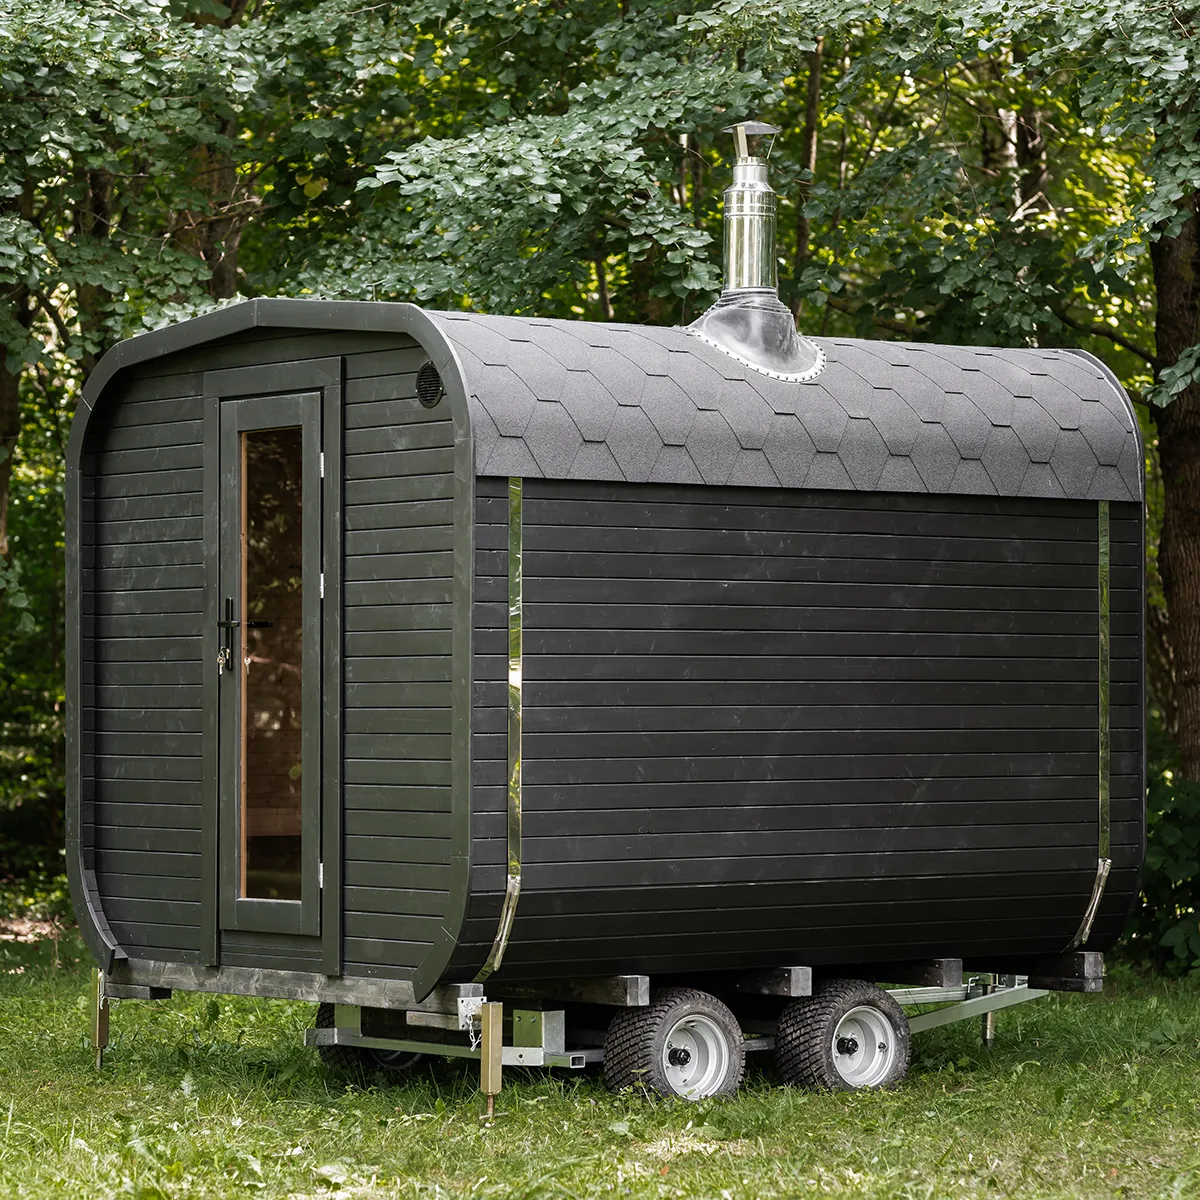
Barrel Saunas
These are slightly different from cabin-style kits:
- Assembly is circular, start with base cradles, build up stave by stave
- Metal bands must be tightened gradually and evenly
- Door positioning is more critical, it's harder to adjust after assembly
- Roof installation follows the curve, often requires an additional person
- Wood swelling is more pronounced, expect to adjust bands after first heating
Explore our full range of barrel saunas.
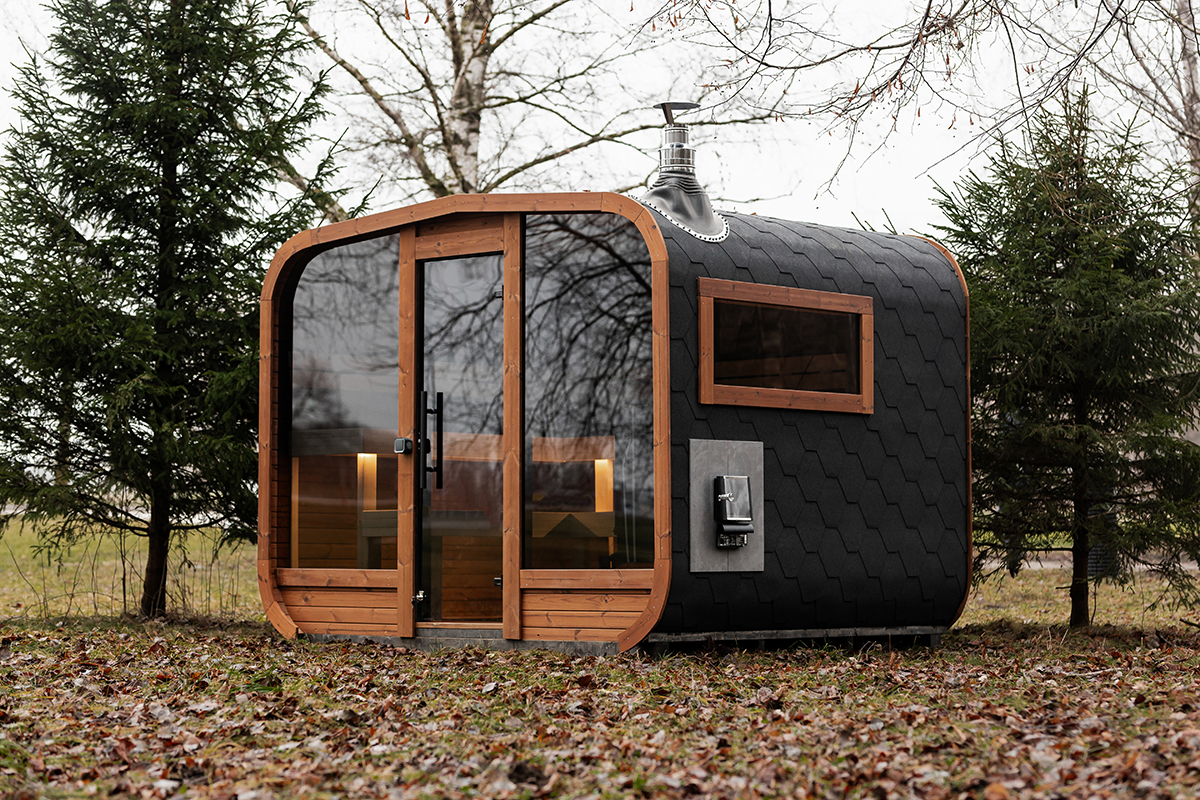
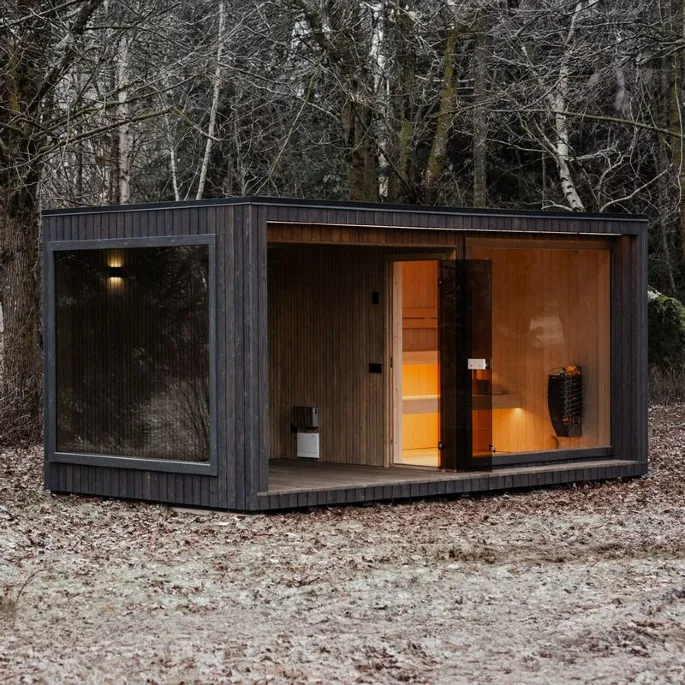
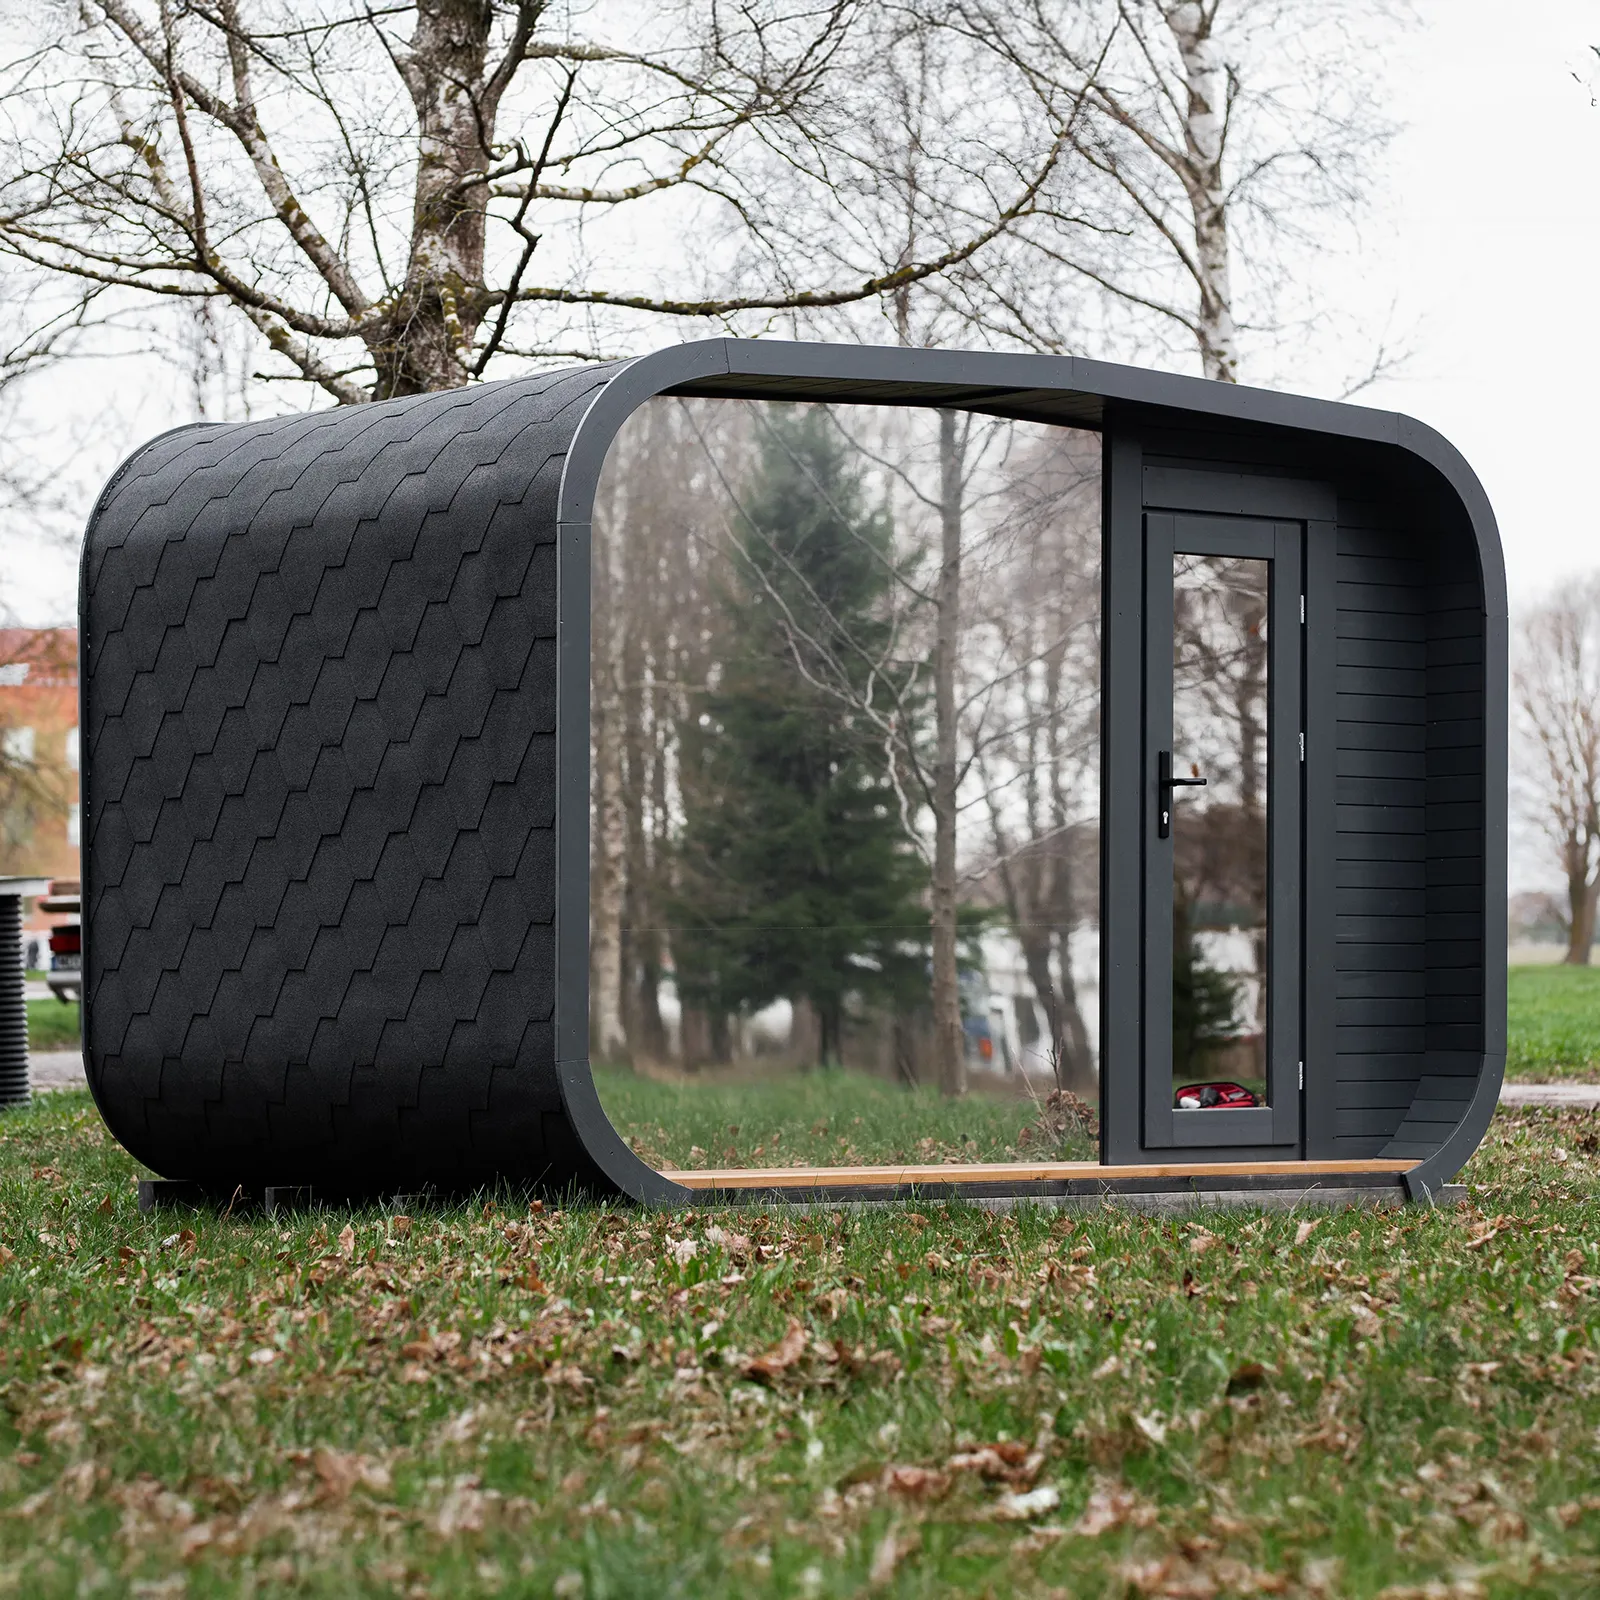
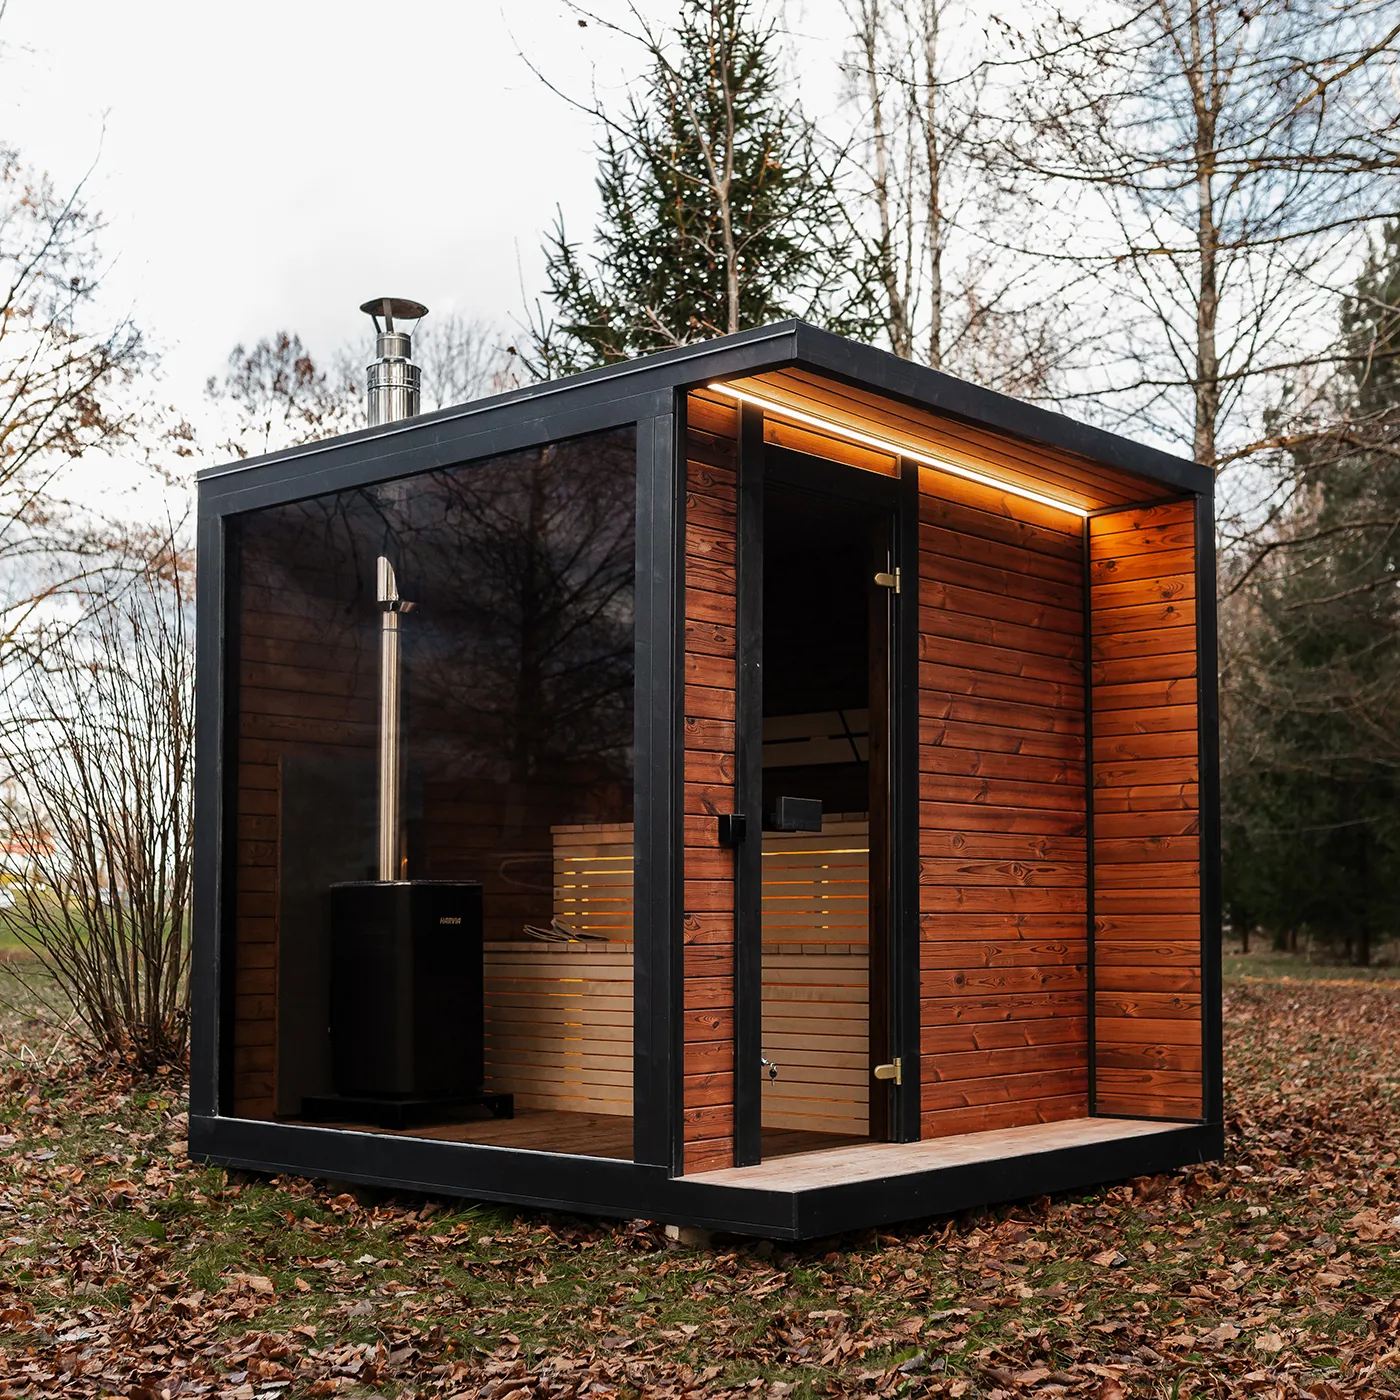
Pod/Cube Saunas
Modern pod designs often feature:
- Glass panels that require extreme care during installation
- Different joining systems, often clips or specialized brackets rather than screws
- Integrated electrical, sometimes pre-wired, but still requires professional connection
- Minimal adjustment, tolerances are tighter, precision is essential
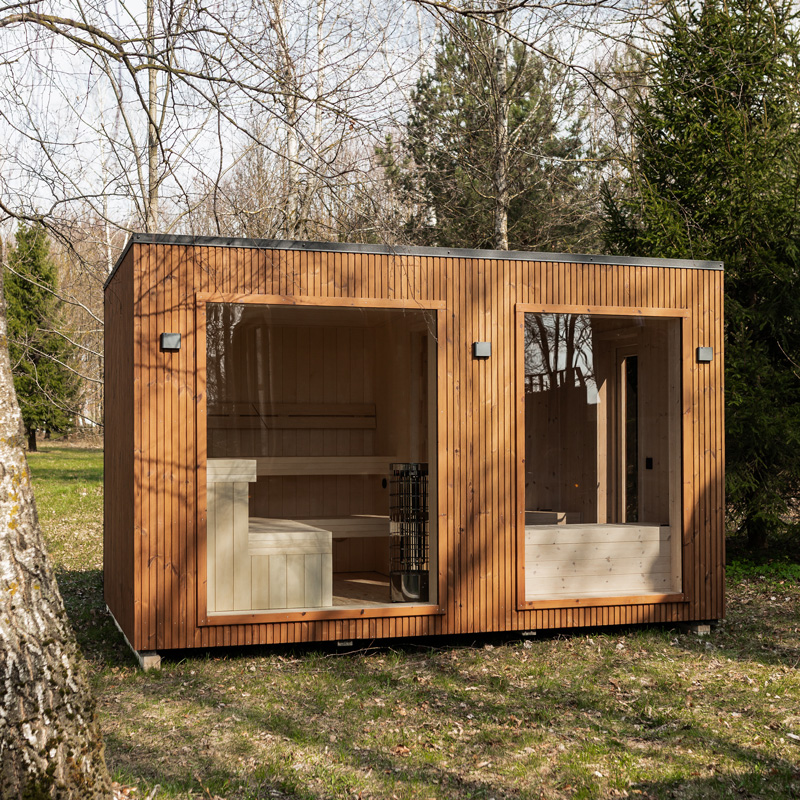
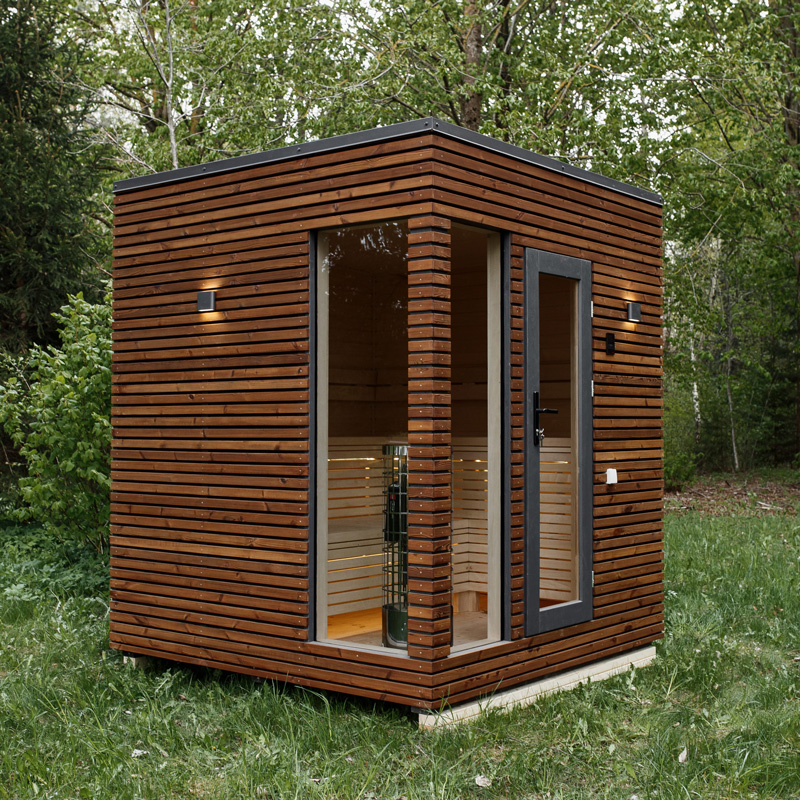
Traditional Cabin Saunas
The most common outdoor style:
- Most forgiving of the three types for first-time installers
- Easier to modify if needed
- Standard construction techniques, if you've done basic carpentry, you'll recognize the methods
- Better access for maintenance and future repairs
Browse our complete collection of frame saunas for your outdoor space.
What Can Go Wrong: Common Problems and Solutions
We've seen these issues repeatedly. Here's how to avoid or fix them:
Problem: Door Won't Close Properly
Causes:
- Foundation not level
- Wall panels not plumb
- Door frame not square
- Hinges incorrectly positioned
Solutions:
- Check wall plumb first, this is usually the culprit
- Adjust hinges (most modern sauna doors have adjustable hinges)
- Add/remove shims behind hinges in small increments
- In extreme cases, you may need to partially disassemble and rebuild the door frame
Problem: Gaps Between Panels
Causes:
- Panels forced into place without proper alignment
- Temperature/humidity changes in wood before assembly
- Incorrect panel order
- Missing components
Solutions:
- Small gaps (under 3mm): Seal with high-temp silicone
- Larger gaps: Disassemble affected section and reassemble carefully
- Persistent gaps: Check you're using correct panels in correct positions
Problem: Roof Leaks
Causes:
- Inadequate overlap on waterproof membrane
- Improperly sealed edges or penetrations
- Damaged roofing material during installation
- Missing flashing
Solutions:
- Trace the leak source carefully (water travels)
- Reapply membrane with generous overlap
- Add additional sealant to all seams
- Install drip edge if not included
Problem: Uneven Heat Distribution
Causes:
- Heater positioned incorrectly
- Poor insulation or air leaks
- Ventilation inadequate or excessive
- Heater undersized for space
Solutions:
- Check all seals and weatherstripping first
- Verify heater is appropriate size for your sauna volume
- Ensure vents are positioned as specified
- May require professional assessment if issues persist
Problem: Benches Unstable or Creaking
Causes:
- Support cleats not level
- Insufficient fasteners
- Wood movement (normal to some degree)
- Floor not level
Solutions:
- Add additional support cleats if possible
- Use longer/more fasteners for better stability
- Some creaking is normal and will diminish over time
- Check that floor is level, may need to shim supports
Read also: How Much Does a Sauna Cost in the UK? Build or Buy Comparison
Critical Things to Pay Attention To
These are the details that separate adequate installations from excellent ones:
1. Level, Level, Level
We cannot overstate this. Check level at every stage:
- Foundation before starting
- Base frame after securing
- Each wall panel as installed
- Door frame before hanging door
- Bench supports before installing benches
A spirit level is your most important tool.
2. Don't Force Anything
If a panel doesn't fit easily, something is wrong. Find out what before proceeding:
- Wrong panel for that position?
- Previous panel not secured correctly?
- Obstruction or debris?
- Damage to tongue or groove?
Forcing components damages them and creates problems.
3. Follow Screw Patterns Exactly
Manufacturers specify screw positions for structural reasons. Deviating causes:
- Weak joints
- Panel warping
- Stress concentration
- Reduced lifespan
4. Weather Protection for Outdoor Installations
Even during assembly:
- Cover materials overnight if rain is forecast
- Don't install roofing in wet conditions
- Allow wood to acclimate to outdoor conditions before assembly if stored indoors
- Complete weatherproofing immediately after assembly
5. Electrical Safety
Cannot be compromised:
- Hire qualified electrician
- Don't attempt DIY electrical work
- Ensure proper circuit sizing
- Install GFCI protection
- Follow all local codes
Additional Tips from Our Experience
Timing your build:
- Start early in the day, you'll appreciate the daylight
- Allow two days for a relaxed pace, one long day if you're experienced
- Don't rush the final checks
Working with wood:
- Cedar splinters easily, wear gloves when handling rough surfaces
- Wood expands and contracts, slight gaps may close after several heat cycles
- Don't overtighten fasteners, wood needs to move slightly
Making life easier:
- Take photos at each stage, helpful for troubleshooting later
- Label all parts before unpacking if not already labeled
- Keep instruction manual in a plastic sleeve, sawdust and paper don't mix
- Have a first aid kit nearby (minor cuts happen)
- Stay hydrated, it's physical work
After installation:
- Run several heating cycles before your first sauna session
- Allow the wood to season naturally, don't oil or treat immediately
- Check all fasteners after first week of use, wood movement can loosen some
- Document your installation with photos for warranty purposes
Maintenance preparation:
- Note where you sealed joints, you may need to refresh sealant annually
- Keep spare fasteners and small parts for future maintenance
- Record your heater model and electrical specifications
- Save all manuals and warranty information
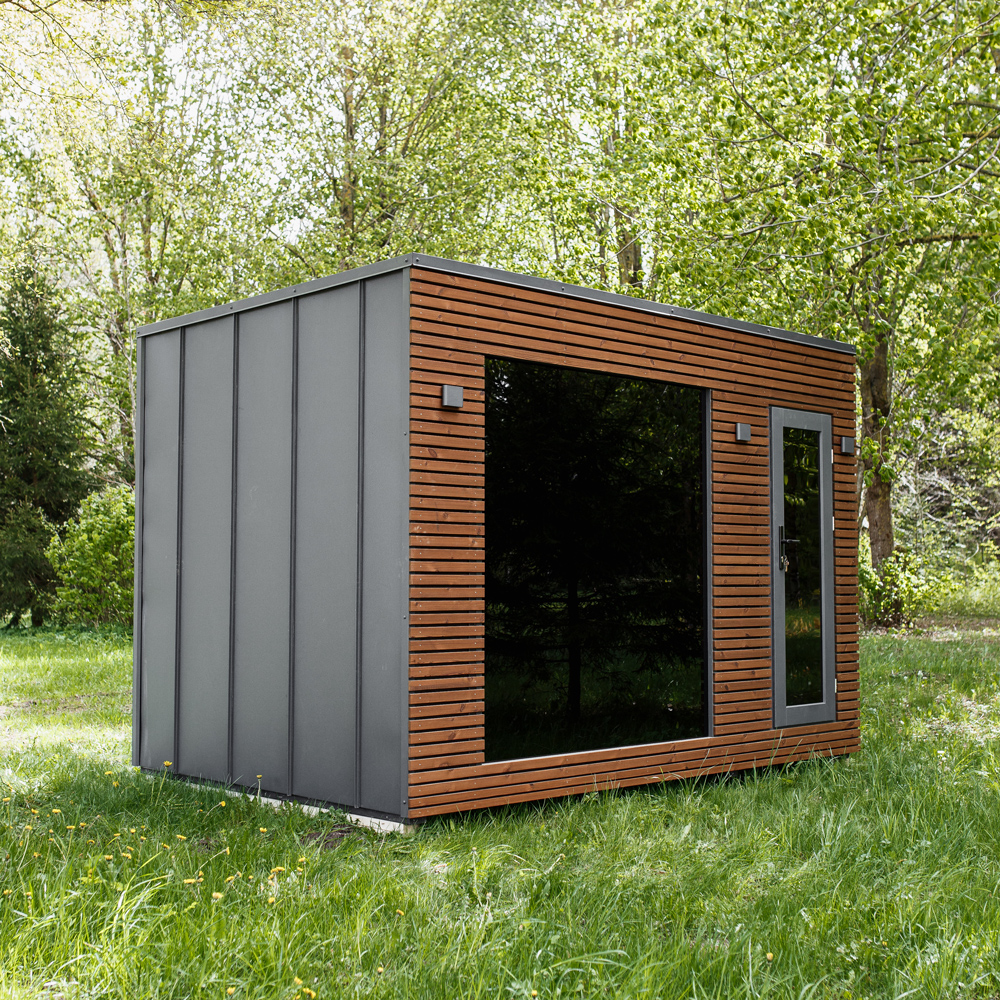
Your Path Forward
Installing your outdoor sauna properly takes time, attention, and patience, but it's absolutely achievable. Thousands of people successfully assemble sauna kits each year, and with this guide, you're better prepared than most.
The key is respecting the process: prepare your site thoroughly, work methodically through each step, don't skip the details, and know when to call in professionals. Your reward is a personal wellness space that will serve you for decades, and the satisfaction of knowing you built it yourself.
If you're considering adding a sauna to your outdoor space, explore Eden Hut's range of quality outdoor saunas designed for straightforward installation. Visit our website for detailed specifications on each model, or contact us for guidance on choosing the right sauna for your needs. We're here to support your journey from delivery to first session.
Frequently Asked Questions
Can I put a sauna in my backyard?
Yes, in most cases you can. Structures under 120 square feet typically don't require building permits in many jurisdictions, though regulations vary by location. You'll need to check: your local building codes, HOA regulations if applicable, property setback requirements, and whether you're in a smoke control zone if installing a wood-burning sauna. Always verify requirements with your local authority before installation.
Can you put a sauna outside?
Absolutely. Outdoor saunas are excellent options and actually offer several advantages: better ventilation, no indoor moisture concerns, the experience of stepping from heat into fresh air, and easier installation since you don't need to modify your home. The key is proper foundation preparation, adequate weatherproofing, and ensuring the sauna kit is specifically designed for outdoor use with appropriate materials and construction.
How long does it take to install a sauna kit?
With two people and all proper tools ready, expect 6-10 hours of work depending on sauna size and your DIY experience. This breaks down roughly as: 1 hour site preparation and unpacking, 3-4 hours wall and ceiling assembly, 1-2 hours bench and door installation, 2-3 hours roof installation (outdoor only), and 1 hour sealing and final checks. Professional installation typically takes 4-6 hours. Add time for electrical work by a qualified electrician.
Do I need an electrician to install my sauna?
Yes, absolutely. Sauna heaters require dedicated electrical circuits and proper installation by a qualified electrician. This is both a safety requirement and typically a legal requirement. Sauna electrical work involves high-voltage circuits, specific wire gauges, proper grounding, and GFCI protection. Attempting DIY electrical work voids warranties, violates building codes, and creates serious safety hazards. Budget for professional electrical work as part of your installation cost.
What foundation do I need for an outdoor sauna?
The foundation must be level, stable, and able to support the sauna's weight (typically 300-500kg once assembled). Best options in order of preference: concrete pad (10-15cm thick, most durable), paving slabs on compacted hardcore base (more affordable, still very stable), or pressure-treated timber frame on compacted gravel (most affordable, requires more maintenance). Never place a sauna directly on grass, soil, or uneven ground, this causes structural problems and reduces the sauna's lifespan significantly.
Can one person install a sauna kit alone?
While technically possible for very small saunas, we strongly advise against it. Wall panels typically weigh 55-70kg and need to be held in position while being secured. Ceiling panels are awkward to maneuver alone. Doors require precise hanging that's much easier with assistance. Roof installation absolutely requires two people for safety. Having a helper not only makes installation safer and faster, but also ensures better quality, one person can hold components while the other checks alignment and secures fasteners
What's the difference between a sauna kit and building from scratch?
Sauna kits come with pre-cut, precision-manufactured components designed to fit together perfectly. All panels, framing, benches, and hardware are included with detailed instructions. Building from scratch means purchasing raw materials, cutting everything yourself, and working from plans, it requires advanced carpentry skills and significantly more time. Kits are designed for DIY assembly and typically result in better quality for most home installers, with installation taking 6-10 hours versus weeks for a scratch build.
How much does professional sauna installation cost in the UK?
Professional installation typically ranges from £800-£2,500 depending on sauna size, complexity, site preparation needed, and your location. This usually doesn't include electrical work, which adds £300-£800 depending on distance from your consumer unit and circuit requirements. Some suppliers offer installation as part of the purchase package. While DIY installation is certainly achievable, professional installation guarantees proper assembly and often includes warranty benefits.


.avif)

%201%20(1).avif)

.webp)
.webp)
-min.jpg)


.webp)


.webp)


.svg)

.png)